Making S’mores Bars is a messy affair, especially when you’re trying to spread melted marshmallow evenly over a sticky graham cracker crust. The gooey marshmallow stretches and pulls as you work, sticking to fingers and spatulas alike.
Once you pour the chocolate layer on top, it’s a race against time to smooth it out before it starts to set and harden in clumps. Cutting through the cooled bars reveals a crackly top and a dense, chewy interior that’s more work than a simple s’more around a campfire, but worth every sticky minute.
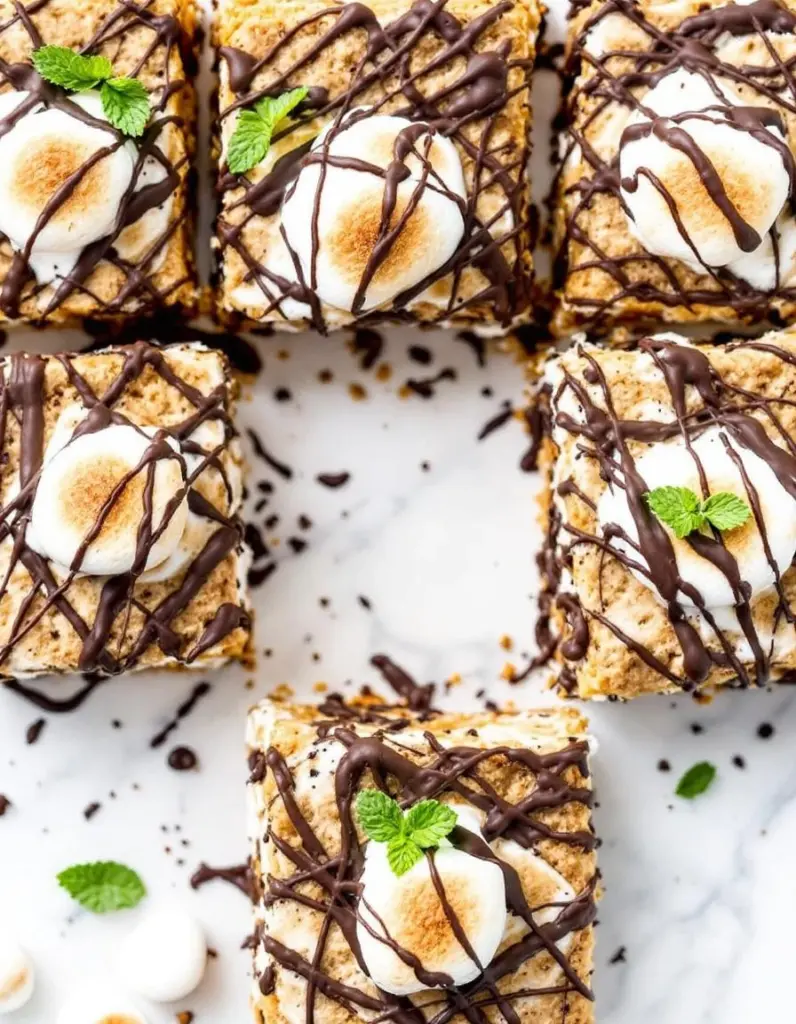
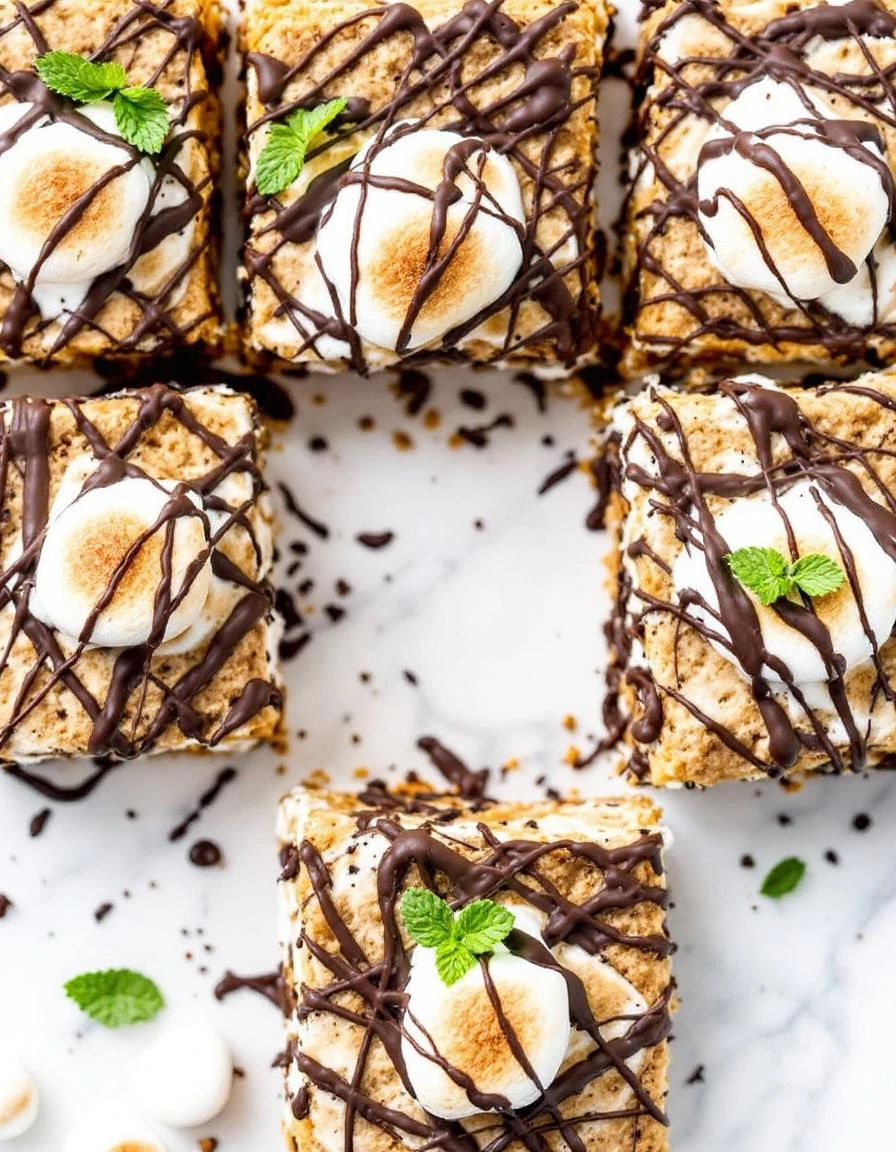
The crack of the graham cracker crust as you cut through, revealing gooey marshmallow and melted chocolate layers beneath.
What goes into this dish
- Graham cracker crumbs: I use store-bought crumbs for convenience, but crushing whole graham crackers really cranks up the flavor. Skip the sugar if your crackers are sweet enough, and watch for gritty bits that don’t bake down smoothly.
- Unsalted butter: Melts into the crust, adding richness and helping it hold together. Swap in browned butter for a nutty depth, or use coconut oil for a dairy-free version that still crisps well.
- Marshmallows: The gooey heart of these bars. I prefer classic mini marshmallows—they melt fast and stretch easily. For a smoky twist, try toasted marshmallows before adding them, or use vegan marshmallows if needed.
- Chocolate chips: I go for semi-sweet, but dark chocolate brings a bitter punch that balances sweetness. Chunky bars melt into puddles, so chop them up if you want more chocolate in every bite, or use chocolate chunks for texture.
- Optional add-ins: Crushed graham, toasted nuts, or even a scattering of sea salt on top can elevate these bars. Skip if you’re aiming for pure marshmallow-chocolate bliss, but they add crunch and contrast.
- Vanilla extract: Just a hint to deepen the marshmallow and chocolate flavor. Skip if you prefer a more neutral, straightforward s’more experience. A splash of bourbon can also add a smoky, complex note.
- Cooking spray or parchment: For easy removal from the pan. Skip the spray if you’re using a non-stick pan, but don’t skip parchment—your bars will thank you when it’s time to slice.
S'mores Bars
Ingredients
Equipment
Method
- Line your baking pan with parchment paper and lightly spray it with cooking spray to prevent sticking.
- Combine the graham cracker crumbs and melted butter in a bowl, stirring until the mixture is evenly coated and holds together when pressed.
- Press the crumb mixture firmly into the bottom of the prepared pan, creating an even crust. Bake at 350°F (175°C) for about 8-10 minutes until lightly golden and fragrant.
- In a saucepan over low heat, melt the mini marshmallows, stirring constantly until smooth and gooey, about 5 minutes. Add vanilla extract and mix well.
- Pour the melted marshmallow mixture over the baked crust and spread evenly with a spatula. Allow it to set and cool for about 10-15 minutes until slightly firm.
- Meanwhile, melt the chocolate chips in a microwave-safe bowl in 30-second intervals, stirring between each, until smooth and glossy.
- Pour the melted chocolate over the marshmallow layer, using a spatula to smooth it out before it begins to set. Wait a few minutes until the top is shiny and firm.
- Refrigerate the assembled bars for at least 2 hours or until completely chilled and set for clean slicing.
- Remove the bars from the refrigerator, lift them out using the parchment paper, and cut into squares with a sharp knife. The crackly top and dense interior will be revealed as you slice.
- Serve these rich, chewy bars with a glass of milk or your favorite hot beverage, enjoying the sticky, gooey, chocolatey goodness.
Common Mistakes and How to Fix Them
- FORGOT to oil the pan: Use parchment or non-stick spray to prevent sticking.
- DUMPED marshmallows too quickly: Add marshmallows gradually for even melting.
- OVER-TORCHED chocolate: Remove from heat once melted to avoid bitterness and burnt taste.
- MISSED chilling time: Chill bars thoroughly for clean cuts and perfect texture.
Make-Ahead and Storage Tips
- Prepare the crust and bake it a day early. Keep it in an airtight container to stay crisp.
- Assemble the marshmallow layer and chocolate topping up to 24 hours in advance; store at room temperature to prevent melting.
- Bars can be refrigerated for up to 3 days, but the marshmallow may harden slightly—reheat gently to soften.
- Freezing is an option if wrapped tightly—up to 1 month. Thaw at room temp before serving.
- Flavors intensify overnight as marshmallow and chocolate meld, but texture may firm up.
- Reheat in a low oven (around 300°F) for 10 minutes, until gooey and fragrant. Check for melty marshmallow and shiny chocolate.
FAQs
1. How do I get the marshmallow layer just right?
The marshmallow gooeyness is key, so don’t skimp on marshmallows. Feel their soft, sticky texture as you spread or melt, making sure they’re warm enough to stretch without tearing.
2. What’s the best chocolate for melting?
Using high-quality chocolate makes a difference. Feel the smooth, slightly oily texture as it melts into puddles, coating the warm marshmallow layer with a glossy sheen.
3. How do I know when the crust is done?
Bake the crust until it’s golden, with a faint toasted aroma. It should crackle slightly under a fork, and feel firm yet tender when pressed.
4. Why are my bars sticky after cutting?
If your bars turn out too sticky, refrigerate them briefly. The cold will firm up the marshmallow and chocolate, making slicing cleaner and less messy.
5. How do I reheat S’mores Bars?
Reheat in a gentle oven until the marshmallow is soft and the chocolate shimmers. Smell for that sweet, toasty marshmallow scent and watch for the slight give when pressed.

Hi, I’m Anjali Arora — the curious heart behind Feast Chase.
To be honest, I’ve always felt most at ease in my own company. I’m not exactly a people-person (small talk still makes me cringe), but there are two things I’ve always loved deeply: animals and food.