 feastchasecom@gmail.com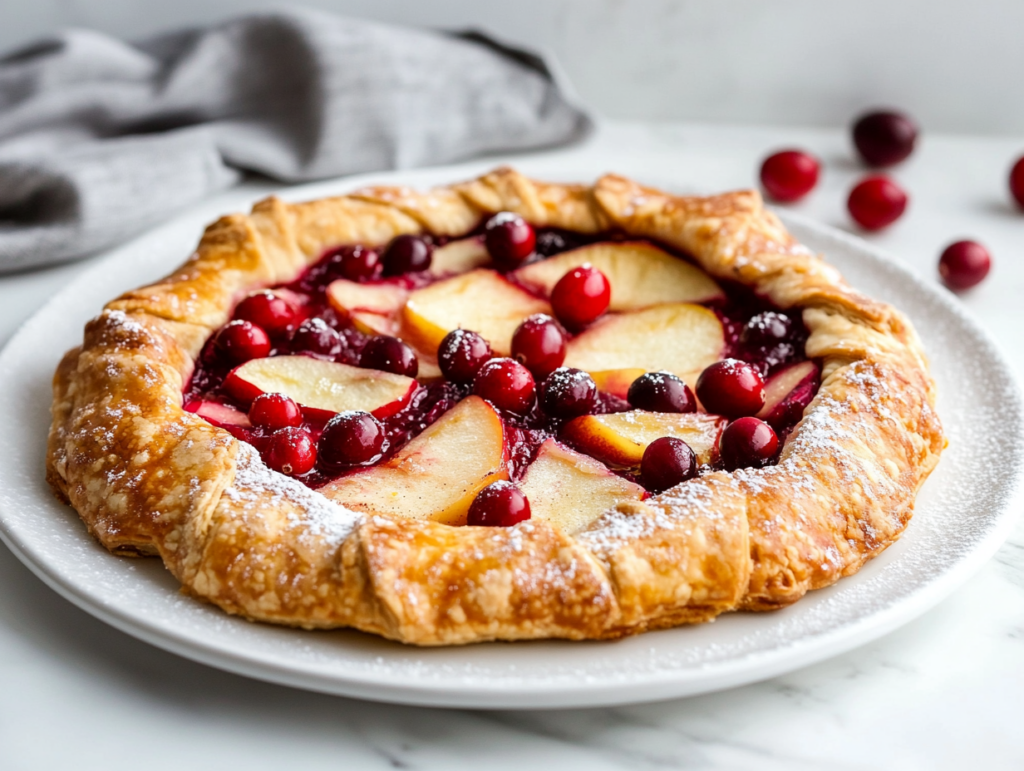
A Cranberry Apple Galette is a rustic free-form pastry that combines sweet apples and tart cranberries inside a flaky, buttery crust. It’s easier than making a traditional pie, making it a great choice for holiday baking, weekend desserts, or when you want an impressive homemade treat with minimal effort.
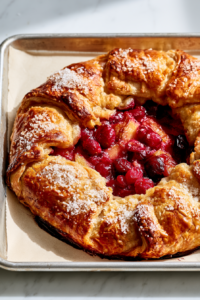
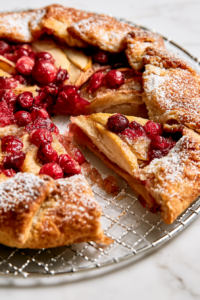
The baked fruit becomes tender and juicy, while the crust turns crisp and golden around the edges. Every slice delivers a balance of sweet apples, bright cranberries, and warm baking spices in every bite.
Whether you’re entertaining guests or baking for your family, this simple galette comes together with everyday ingredients and brings beautiful seasonal flavors to the table.
What Makes This Galette Stand Out
- Simple to Assemble: No pie pan or lattice crust required.
- Beginner Friendly: Rustic shaping means no perfect edges are needed.
- Perfect for the Holidays: A beautiful dessert for Thanksgiving and fall gatherings.
- Flexible Recipe: Works well with different apple varieties.
- Everyday Ingredients: Made with common pantry staples.
- Easy to Transport: Great for potlucks, parties, and family dinners.
Ingredient Insights and Swaps
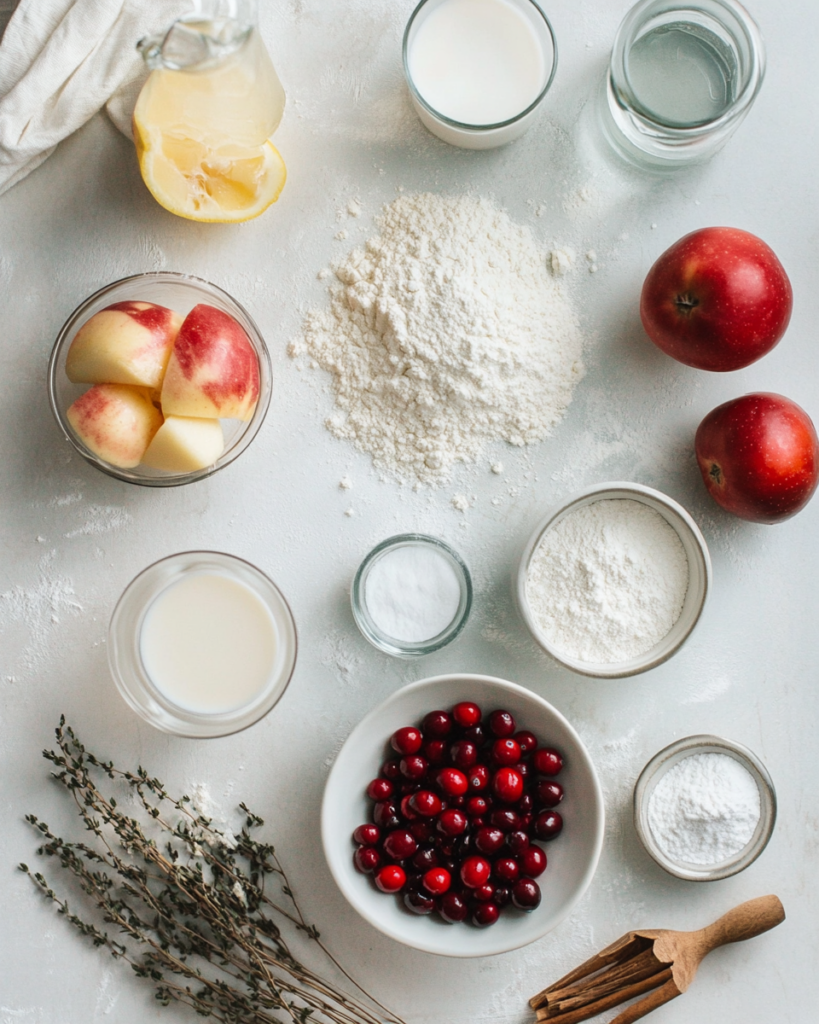
- Apples: Firm baking apples like Honeycrisp, Granny Smith, or Pink Lady hold their shape best while baking.
- Fresh Cranberries: Add brightness and help balance the sweetness. Frozen cranberries can be used straight from the freezer.
- Cornstarch: Thickens the fruit juices to prevent a soggy crust. Tapioca starch works as an alternative.
- Pie Dough: Store-bought pie crust saves time, while homemade dough offers a richer buttery flavor.
- Egg Wash: Creates a glossy golden crust. A splash of heavy cream can be brushed on instead if preferred.
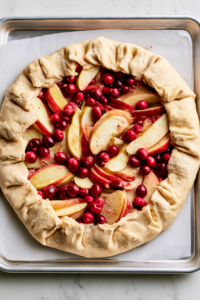
Chef’s Tip: Arrange the apple slices in an even layer before folding the dough. This helps the galette bake evenly and prevents one side from becoming thicker than the other.
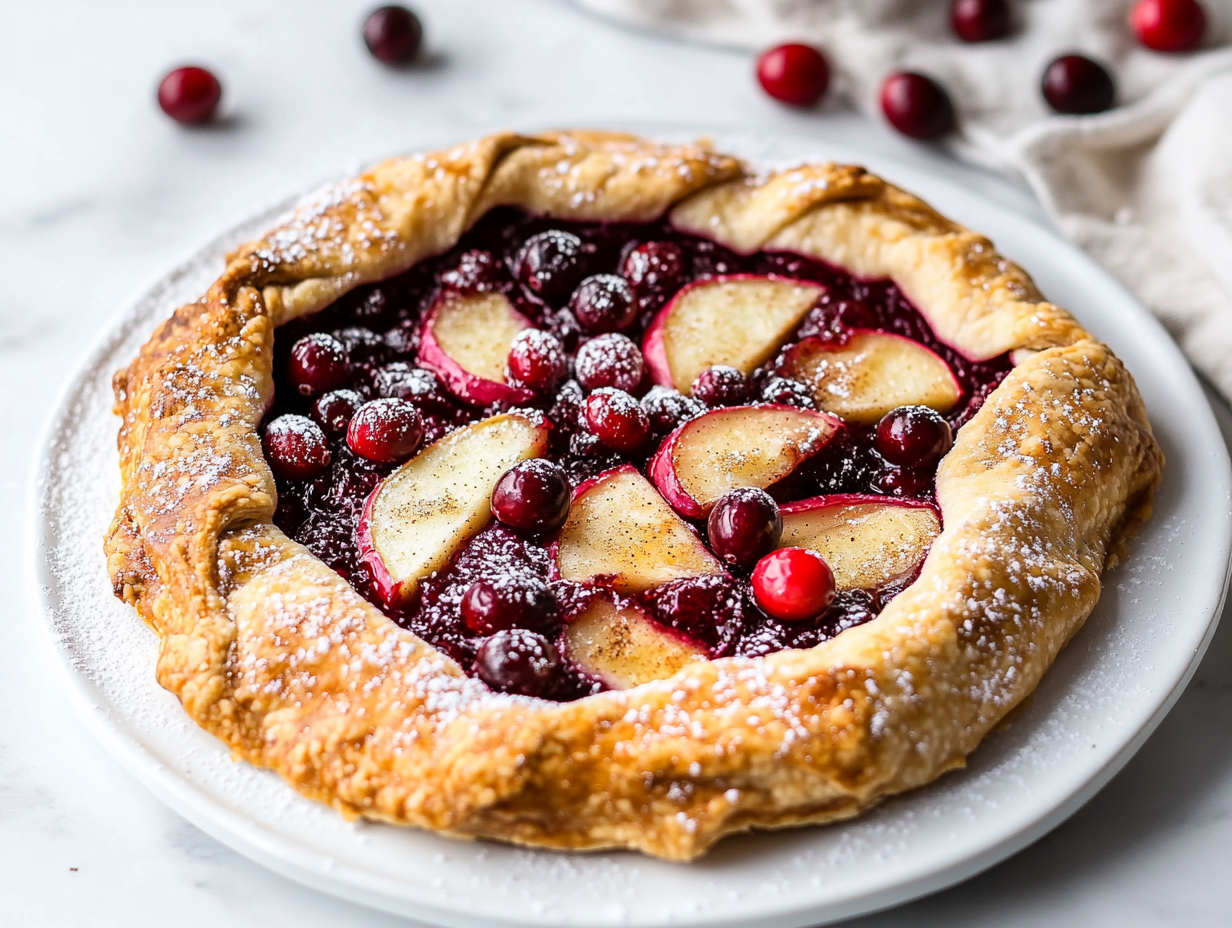
Cranberry Apple Galette Recipe
Ingredients
Equipment
Method
- Preheat the oven to 400°F (205°C) and line a large baking sheet with parchment paper. In a large bowl, combine the sliced apples, fresh cranberries, brown sugar, granulated sugar, cornstarch, cinnamon, nutmeg, vanilla extract, and lemon juice. Toss until the fruit is evenly coated, then let it sit for about 10 minutes.

- Roll the pie dough into a 12-inch circle on a lightly floured surface and transfer it to the prepared baking sheet. Spoon the fruit mixture into the center, leaving a 2-inch border around the edges, then scatter the butter cubes over the filling. Fold the edges of the dough over the fruit, pleating as you go to create a rustic galette.
- Whisk together the egg and milk to make the egg wash, then brush it over the exposed crust. Sprinkle with coarse sugar if desired. Bake for 38 to 42 minutes, or until the crust is deep golden brown and the fruit filling is bubbling.
- Let the galette cool on the baking sheet for about 15 minutes before transferring it to a serving plate. Slice and serve warm or at room temperature, with vanilla ice cream or whipped cream if desired.
Notes
- Use firm apples such as Honeycrisp, Pink Lady, or Granny Smith so they hold their shape during baking.
- If using frozen cranberries, add them directly from the freezer without thawing.
- Don’t overfill the center, or the juices may spill over while baking.
- A little fruit juice bubbling onto the parchment is completely normal and adds to the rustic look.
- Allow the galette to cool slightly before slicing so the filling has time to thicken.
| Nutrient | Per Serving |
|---|---|
| Calories | 328 kcal |
| Carbohydrates | 48g |
| Protein | 4g |
| Fat | 14g |
| Fiber | 3g |
| Sugar | 24g |
| Sodium | 230mg |
Easy Problems and How to Avoid Them
- Warm Pie Dough: Becomes difficult to fold and may lose its shape.
- Too Much Filling: Can overflow during baking.
- Skipping the Thickener: Results in a runny filling.
- Uneven Apple Slices: Causes inconsistent baking.
- Underbaking the Crust: Leaves the bottom soft instead of crisp.
- Cutting Too Soon: Allows the juices to run before the filling sets.
Fun Ways to Customize This Recipe
- Pear Version: Replace half the apples with ripe pears.
- Orange Citrus Twist: Add fresh orange zest to the filling.
- Nutty Finish: Sprinkle chopped pecans or walnuts over the fruit before folding.
- Maple Flavor: Replace part of the brown sugar with maple syrup.
- Extra Spice: Add a pinch of cardamom or cloves.
- Berry Blend: Mix in a handful of blueberries or raspberries.
- Almond Touch: Add a few drops of almond extract along with the vanilla.
Continue Exploring These Recipes
- Apple Crumble Muffins Recipe
- Sweet Potato Pie Recipe
- Keto Apple Crisp Recipe
- Cream Coffee Cake Recipe
- Apple Pumpkin Bread Recipe
Best Ways to Store Leftovers
- Make Ahead: Assemble the galette several hours before baking and refrigerate.
- Refrigerator Storage: Store covered in the refrigerator for up to 4 days.
- Freezer Storage: Freeze baked slices for up to 2 months.
- Reheating: Warm in a 325°F oven until the crust becomes crisp again.
- Freshness Tip: Cool completely before storing to keep the crust from softening.
Reader Questions Answered
- Can I leave the apple peels on?
Yes. Thin-skinned apples can be used with the peels on for a more rustic appearance and extra texture. - How do I keep the bottom crust crisp?
Bake the galette on a fully preheated baking sheet or place it on the lower oven rack during the final part of baking. - What is the best thickness for slicing the apples?
Aim for slices about ⅛ inch thick so they soften evenly without becoming mushy. - Why did my galette leak during baking?
Small gaps in the folded dough or too much filling can allow juices to escape while baking. - Can I make this with homemade pie dough?
Absolutely. Homemade buttery pie dough works beautifully and provides an even flakier crust. - Should the fruit be arranged or simply mixed together?
Either works, but arranging the apples in overlapping layers creates a more even bake and an attractive presentation. - How do I know when the galette is fully baked?
The crust should be deeply golden and the fruit filling should be bubbling steadily around the edges. - Can I bake this on a pizza stone?
Yes. A preheated pizza stone helps create an extra-crisp bottom crust while baking.
