I stumbled onto these Brie and fig bites during a chaotic holiday prep, and they somehow saved the day. The combo of creamy cheese and sweet figs feels like a little indulgence that’s easy to throw together. They’re perfect for when you want something fancy but don’t want to fuss too much. Honestly, the best part is how they make the kitchen smell—warm, cheesy, with a hint of caramelized fig.
Why I Keep Coming Back to These Bites
They’re quick, customizable, and always impress without much fuss. The balance of sweet and savory keeps everyone guessing. Plus, the aroma alone—warm, cheesy, with a hint of fig—makes the kitchen smell like a cozy gathering. No matter the occasion, these bites remind me that simple ingredients can create something memorable.
Breaking Down the Key Players
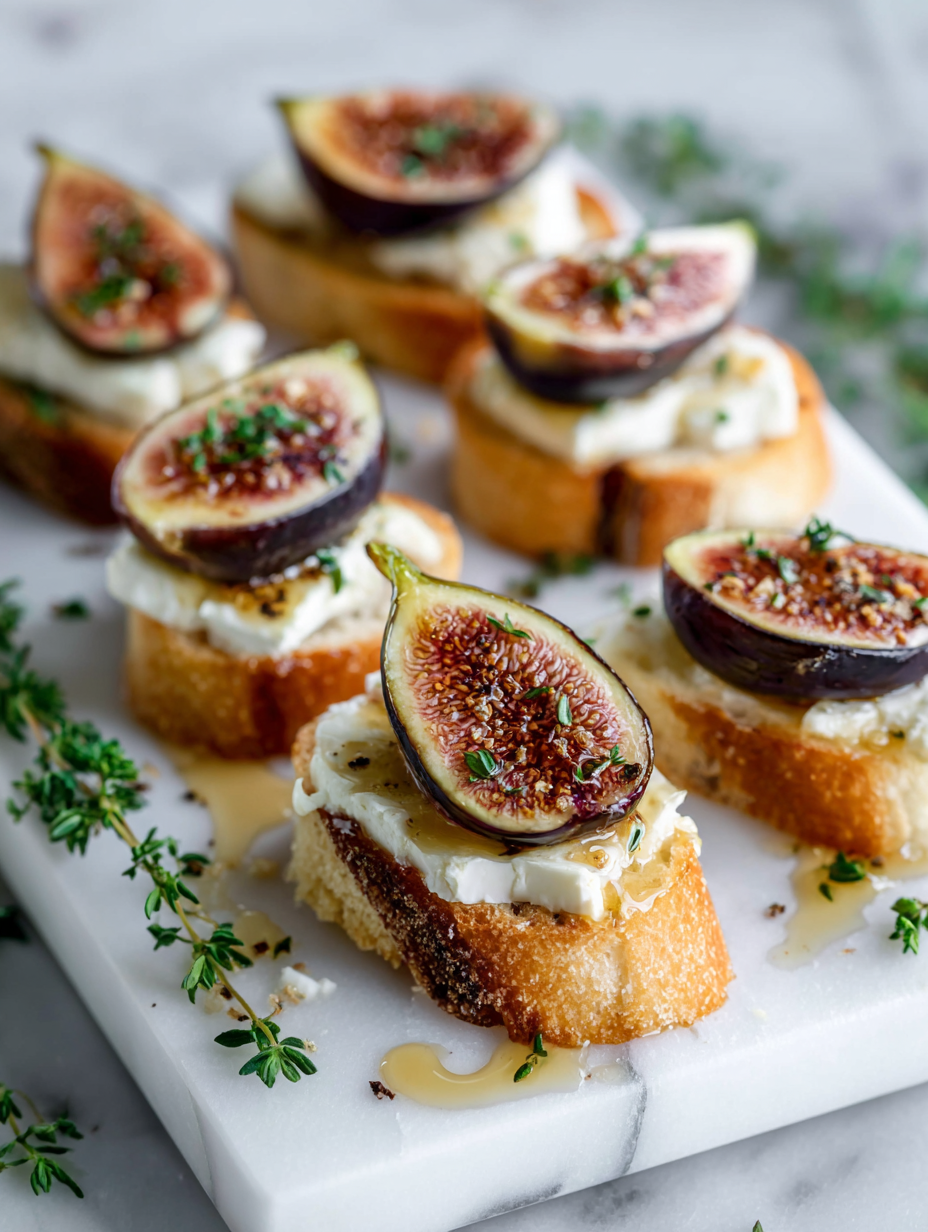
- Fig slices: Sweet, jammy, with a subtle crunch—use ripe figs for maximum flavor.
- Brie cheese: Creamy, mild, melts beautifully—try a semi-soft Brie for best results.
- Honey or balsamic glaze: Optional sweet or tangy drizzle—adds a glossy finish and extra punch.
- Fresh thyme or basil: Herbs add a fragrant, earthy note—go for fresh over dried.
- Puffed pastry or crostini: For a crunchier base, replace figs with toast or puff pastry rounds.
Tools of the Trade for These Elegant Bites
- Baking sheet: To hold and bake the assembled bites evenly.
- Parchment paper: Prevents sticking and makes cleanup a breeze.
- Sharp knife: To slice figs and Brie cleanly.
- Small spoon or spatula: For neat placement of Brie on figs.
- Cooling rack: To rest the bites briefly after baking for even cooling.
The Art of Assembling Brie and Fig Bites
Step 1: Preheat your oven to 180°C (350°F).
Step 2: Line a baking sheet with parchment paper.
Step 3: Slice the figs into thin rounds, about ¼ inch thick.
Step 4: Cut the Brie into small cubes, roughly the size of a grape.
Step 5: Arrange the fig slices on the baking sheet.
Step 6: Top each fig with a Brie cube, pressing gently so it stays put.
Brie and Fig Bites
Ingredients
Equipment
Method
- Preheat your oven to 180°C (350°F). Line a baking sheet with parchment paper to prevent sticking.
- Slice the figs into thin rounds about ¼ inch thick, arranging them evenly on the prepared baking sheet.
- Cut the Brie into small cubes, roughly the size of a grape, and set aside.
- Place a small Brie cube on top of each fig slice, pressing gently so it stays in place.
- Sprinkle chopped herbs over the assembled bites if using, adding a fresh, fragrant touch.
- Bake in the preheated oven for about 8-10 minutes, until the Brie is melted and bubbly, and the figs are slightly caramelized around the edges.
- Remove from the oven and let the bites cool for a minute. Drizzle with honey or balsamic glaze for a glossy finish and extra flavor.
- Transfer the bites to a cooling rack to rest briefly, then serve warm or at room temperature for the best flavor and texture.
Notes
Cooking Touchpoints & Tips for Perfect Bites
- Watch the Brie edges: they should just start to melt and turn lightly golden.
- Figs should be soft but not mushy; if they release too much juice, reduce oven time.
- Ensure Brie is not too cold when placing on figs; room temperature helps it melt smoothly.
- If the bites brown too quickly, cover loosely with foil to prevent burning.
Common Pitfalls & How to Fix Them
- Cold Brie won’t melt smoothly.? Use room-temperature Brie to avoid uneven melting.
- Over-browning or burning.? Cover bites if they brown too fast.
- Mushy, uneven figs.? Slice figs gently to prevent crushing.
- Overcooked, rubbery cheese.? Bake just until Brie is lightly golden.
These bites are more than just a fancy appetizer; they’re a reflection of a moment when I wanted something elegant but unpretentious. The creamy Brie melting over the sweet, jammy fig creates a flavor harmony that’s both nostalgic and fresh. I encourage you to experiment with different herbs or a drizzle of honey if you’re feeling adventurous—these bites are forgiving and open to personalization. No matter how you tweak them, they’ll always remind me of cozy gatherings and quiet afternoons.

Hi, I’m Anjali Arora — the curious heart behind Feast Chase.
To be honest, I’ve always felt most at ease in my own company. I’m not exactly a people-person (small talk still makes me cringe), but there are two things I’ve always loved deeply: animals and food.