 Anjali Arora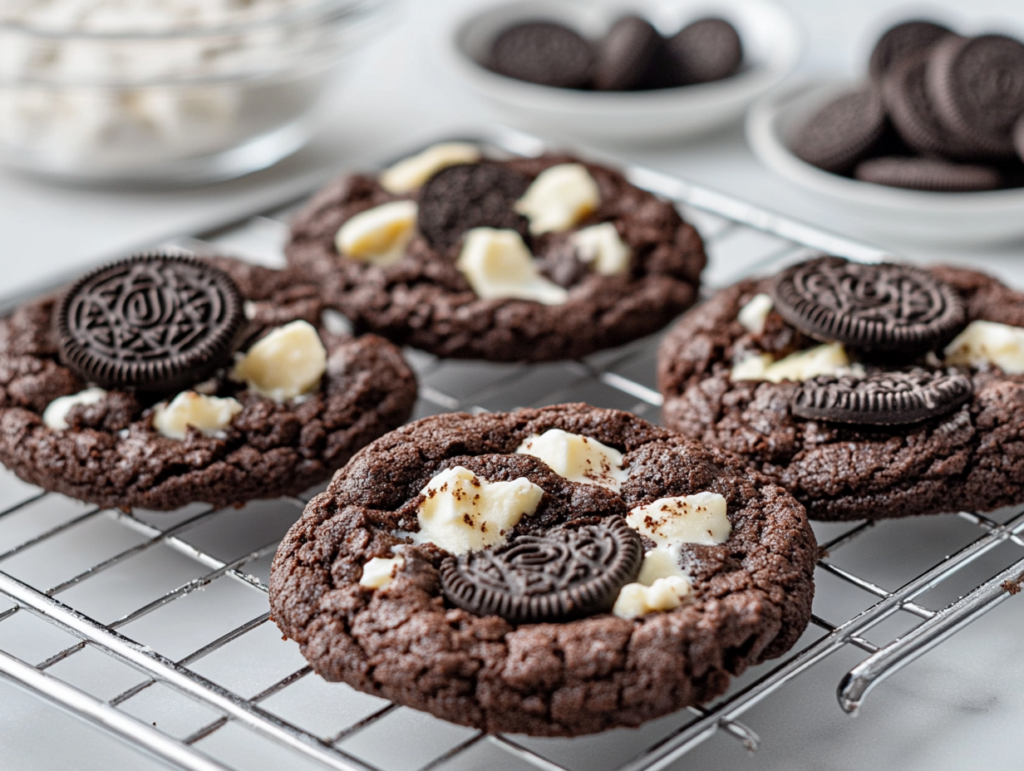
Homemade Oreo Cookies are a fun way to recreate the classic chocolate sandwich cookie with simple baking ingredients. They deliver the familiar combination of crisp chocolate cookies and a creamy vanilla filling while letting you enjoy a fresher, homemade version that’s great for holidays, cookie exchanges, or weekend baking.
Each sandwich cookie has deep chocolate flavor from Dutch-process cocoa, crisp edges, a tender center, and a light vanilla buttercream filling. They pair beautifully with a glass of milk, a cup of coffee, or your favorite afternoon treat.
Why You’ll Reach for This Recipe Again
- Made from Pantry Staples: Most of the ingredients are common baking essentials.
- Easy to Follow: Straightforward steps make it approachable for beginner bakers.
- Great for Gifting: These sandwich cookies package well for holidays and special occasions.
- Consistent Results: Using a cookie scoop helps create evenly matched cookies for sandwiching.
- Easy to Customize: Change the filling or decorate the edges for different occasions.
- Perfect for Baking Ahead: The cookies hold their texture well for several days.
Ingredient Notes & Easy Substitutions
- Dutch-Process Cocoa Powder: Gives the cookies their signature dark color and smooth chocolate taste. Natural cocoa powder will create a lighter flavor and appearance.
- Unsalted Butter: Softened butter creams more easily with sugar, creating a lighter dough and filling. Salted butter can be used if you slightly reduce the added salt.
- Powdered Sugar: Produces a smooth, fluffy buttercream without any graininess. Sift it if it contains lumps.
- Heavy Cream or Milk: Adjusts the consistency of the filling. Add only enough to make it easy to spread or pipe.
- Vanilla Extract: Adds warmth and balances the chocolate cookies. Pure vanilla extract offers the best flavor.
Chef’s Tip: Let the cookies cool completely before adding the filling. Even slightly warm cookies can cause the buttercream to soften and slide.
Oreo Cookie Recipe
Ingredients
Equipment
Method
- Preheat the oven to 350°F (175°C) and line two baking sheets with parchment paper.

- In a large mixing bowl, cream the softened butter and granulated sugar until the mixture becomes light and fluffy. Beat in the egg and vanilla extract until fully incorporated.
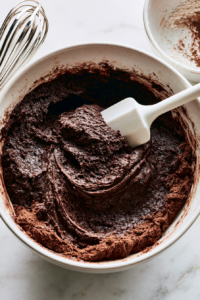
- In a separate bowl, whisk together the flour, cocoa powder, baking soda, baking powder, and salt. Gradually add the dry ingredients to the wet ingredients, mixing just until a smooth chocolate dough forms.
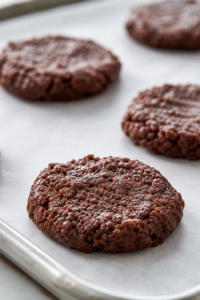
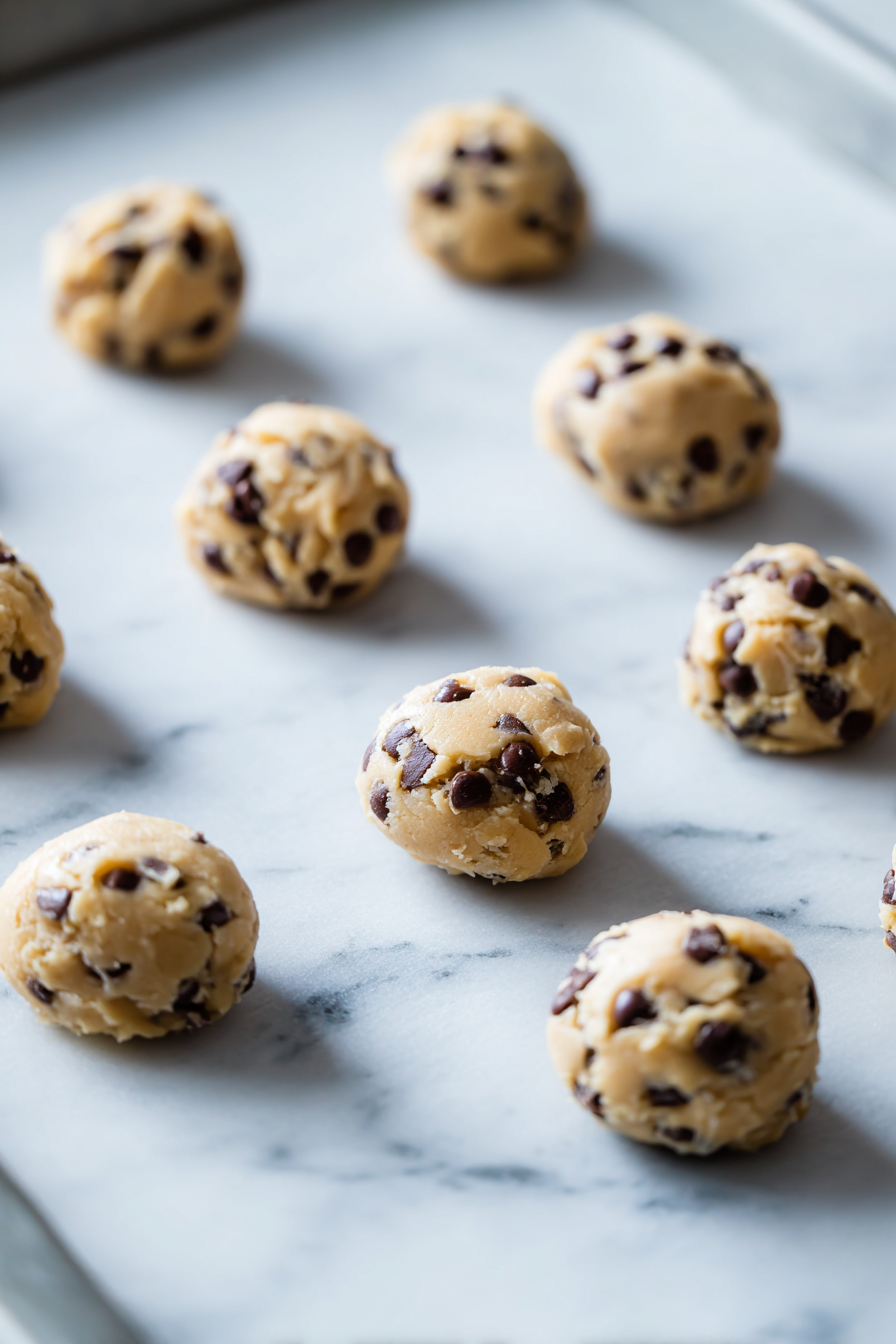
- Scoop small portions of dough onto the prepared baking sheets, leaving enough space between each cookie. Gently flatten each dough ball slightly with the palm of your hand or the bottom of a glass.
- Bake until the cookies are set around the edges and no longer look glossy in the center. Allow them to cool on the baking sheet for a few minutes before transferring them to a wire rack to cool completely.
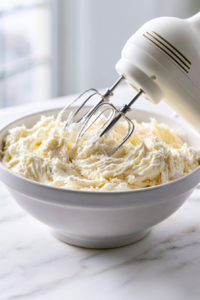
- While the cookies cool, prepare the filling by beating the butter until creamy. Gradually mix in the powdered sugar, vanilla, salt, and enough cream to create a smooth, fluffy buttercream.
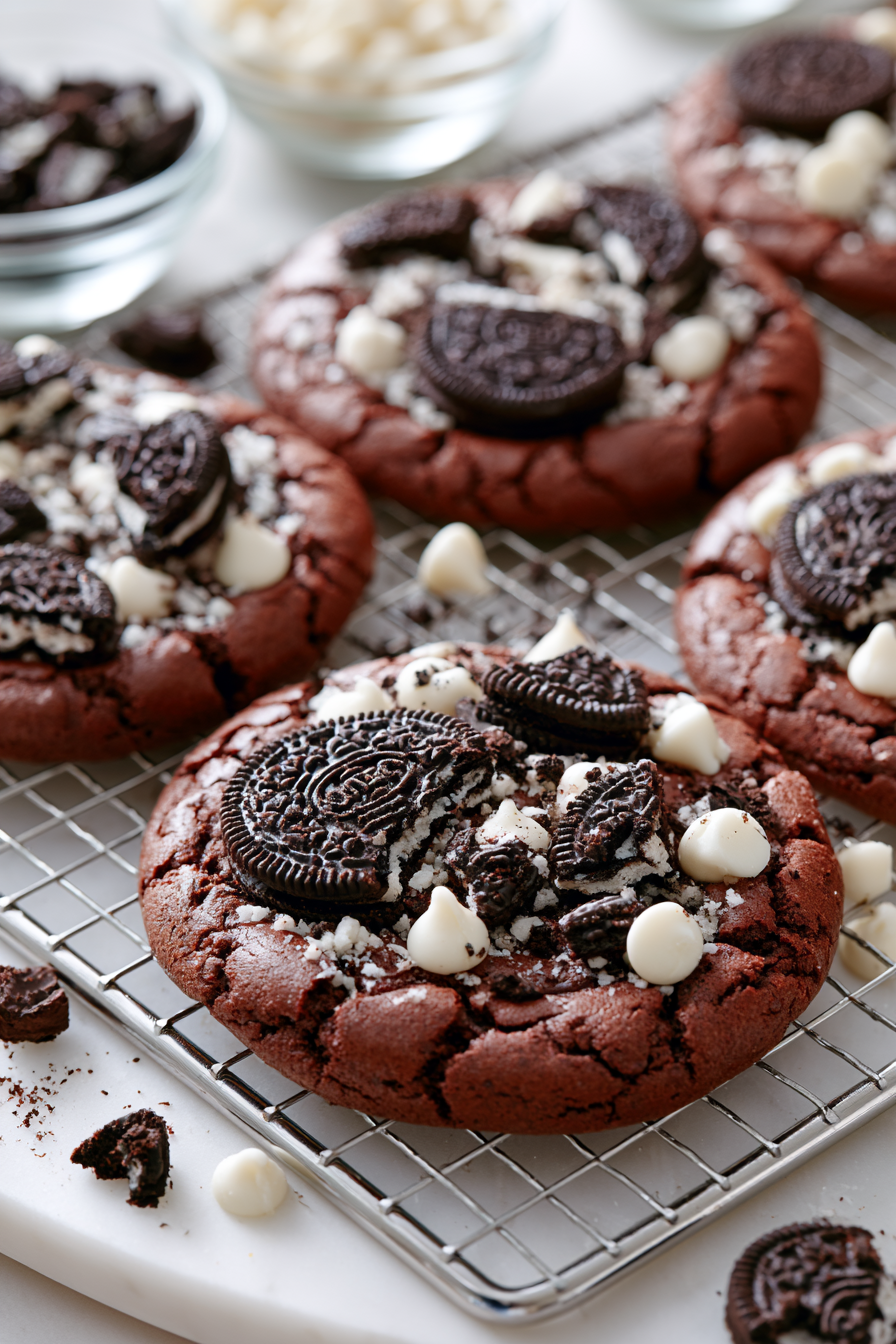
- While the cookies are still slightly warm, top each one with broken Oreo cookie pieces, a sprinkle of finely crushed Oreo cookie crumbs, and a few white chocolate chips, gently pressing the toppings into the cookies before letting them cool completely.




Notes
- For the most authentic Oreo flavor, use Dutch-process cocoa powder instead of natural cocoa powder.
- Avoid over baking the cookies, as they continue to firm up while cooling.
- For evenly sized sandwich cookies, use a small cookie scoop.
- If the dough becomes soft while working, refrigerate it for 15 to 20 minutes before baking.
- Store the finished cookies in an airtight container at room temperature for up to 5 days or refrigerate for up to one week.
- The baked cookies also freeze well for up to 2 months.
Nutrition
| Nutrient | Per Sandwich Cookie |
|---|---|
| Calories | 245 kcal |
| Carbohydrates | 31g |
| Protein | 2g |
| Fat | 13g |
| Fiber | 2g |
| Sugar | 19g |
| Sodium | 115mg |
Common Mistakes to Avoid
- Overbaking the Cookies: They continue to firm up as they cool, so remove them once the centers lose their glossy appearance.
- Skipping the Cooling Time: Warm cookies can melt the filling and make the sandwiches difficult to assemble.
- Using Butter That Is Too Soft: Overly soft butter can produce dough that spreads more than expected.
- Uneven Cookie Sizes: Similar-sized cookies make sandwiching much easier and give a neater finish.
- Overmixing the Dough: Mix only until the dry ingredients are incorporated to keep the cookies tender.
- Adding Too Much Cream: Too much liquid creates a filling that’s difficult to pipe and may squeeze out of the cookies.
Creative Variations for Your Next Batch
- Mint Filling: Add a few drops of peppermint extract to the buttercream.
- Chocolate Filling: Mix cocoa powder into the vanilla filling for a double chocolate version.
- Cookies and Cream Filling: Fold finely crushed chocolate sandwich cookies into the buttercream.
- Espresso Version: Stir a small amount of espresso powder into the cookie dough for a richer chocolate profile.
- Holiday Edition: Roll the edges of the filling in festive sprinkles before serving.
- Peanut Butter Filling: Replace part of the butter with creamy peanut butter for a nutty twist.
More Dessert Recipes You’ll Enjoy
- Classic Sugar Cookies
- Strawberry Shortbread Cookies Recipe
- Colorful Matcha & Strawberry Cookies Recipe
- Banana and Chocolate Chip Cookies Recipe Ingredients
- Sugar Cookie Martini Recipe
- Shape Cookies
Best Ways to Store Leftovers
- Room Temperature: Store in an airtight container for up to 5 days.
- Refrigerator Storage: Keep refrigerated for up to 1 week if you prefer a firmer filling.
- Freezer Storage: Freeze the assembled cookies for up to 2 months in a freezer-safe container.
- Thawing: Let frozen cookies sit at room temperature until softened before serving.
- Freshness Tip: Place parchment paper between layers to help protect the filling and cookies.
Frequently Asked Questions
- Why should I use Dutch-process cocoa powder?
Dutch-process cocoa creates the dark color and smoother chocolate taste that closely resembles classic Oreo cookies. - How do I keep the cookies the same size?
A small cookie scoop helps portion the dough evenly so each sandwich matches neatly. - Why did my cookies spread too much?
The butter may have been too soft or the dough became too warm. Chilling the dough briefly before baking can help maintain its shape. - Can I pipe the filling instead of spreading it?
Yes. Piping creates evenly filled sandwich cookies and gives a cleaner appearance. - How do I know when the cookies are done baking?
The edges should look set, and the centers should no longer appear shiny. They will continue to firm up as they cool. - Why should the assembled cookies rest before serving?
Resting allows the buttercream to set slightly, making the cookies easier to handle and bite into. - Can I make these cookies for holiday gift boxes?
Yes. Their sturdy texture makes them a great choice for packaging and sharing during holidays and special occasions. - Can I make smaller sandwich cookies?
Yes. Simply scoop smaller portions of dough and reduce the baking time slightly while watching for the same visual cues of doneness.

Hi, I’m Anjali Arora — the curious heart behind Feast Chase.
To be honest, I’ve always felt most at ease in my own company. I’m not exactly a people-person (small talk still makes me cringe), but there are two things I’ve always loved deeply: animals and food.