Ingredients
Equipment
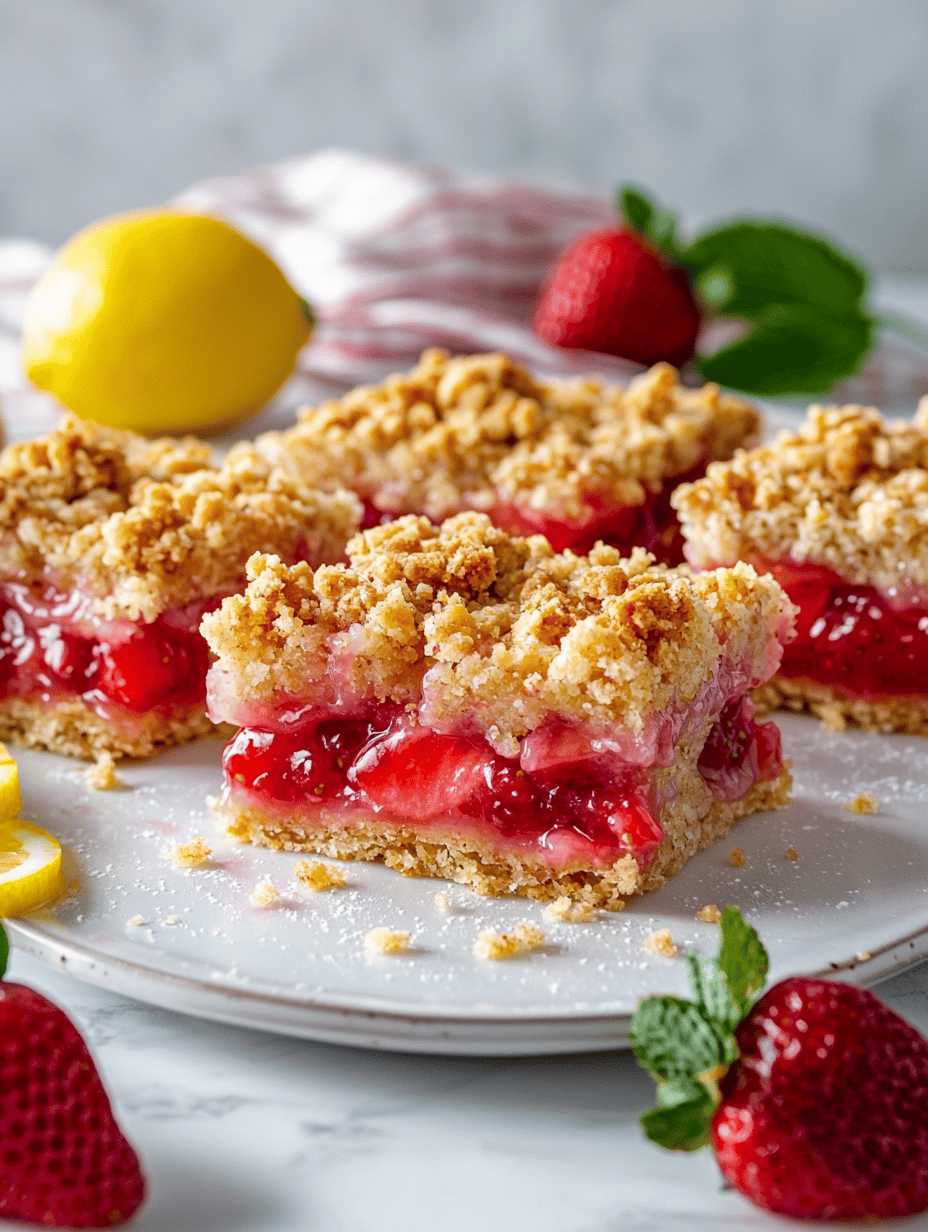
Method
- Preheat oven to 180°C (350°F) and line a baking pan with parchment.
- In a bowl, mix flour and sugar together.
- Add cold cubed butter and cut into the mixture until crumbly.
- Press half of this mixture firmly into the prepared pan to form crust.
- Bake the crust until the edges look lightly set and just begin to turn pale golden.
- In another bowl, combine sliced strawberries, lemon zest, lemon juice, and cornstarch.
- Spread the fruit filling evenly over the warm crust.
- Pat sliced strawberries lightly dry before mixing to prevent excess moisture in the filling.
- Sprinkle remaining crumb mixture over the filling.
- Return pan to oven and bake for 25–30 minutes until topping is golden.
- Remove from oven and allow the bars to cool for at least 2 hours before slicing to help the filling firm up properly.
- Slice into squares or rectangles for serving.
Notes
Use a sharp knife wiped clean between cuts to create neat bakery-style squares.