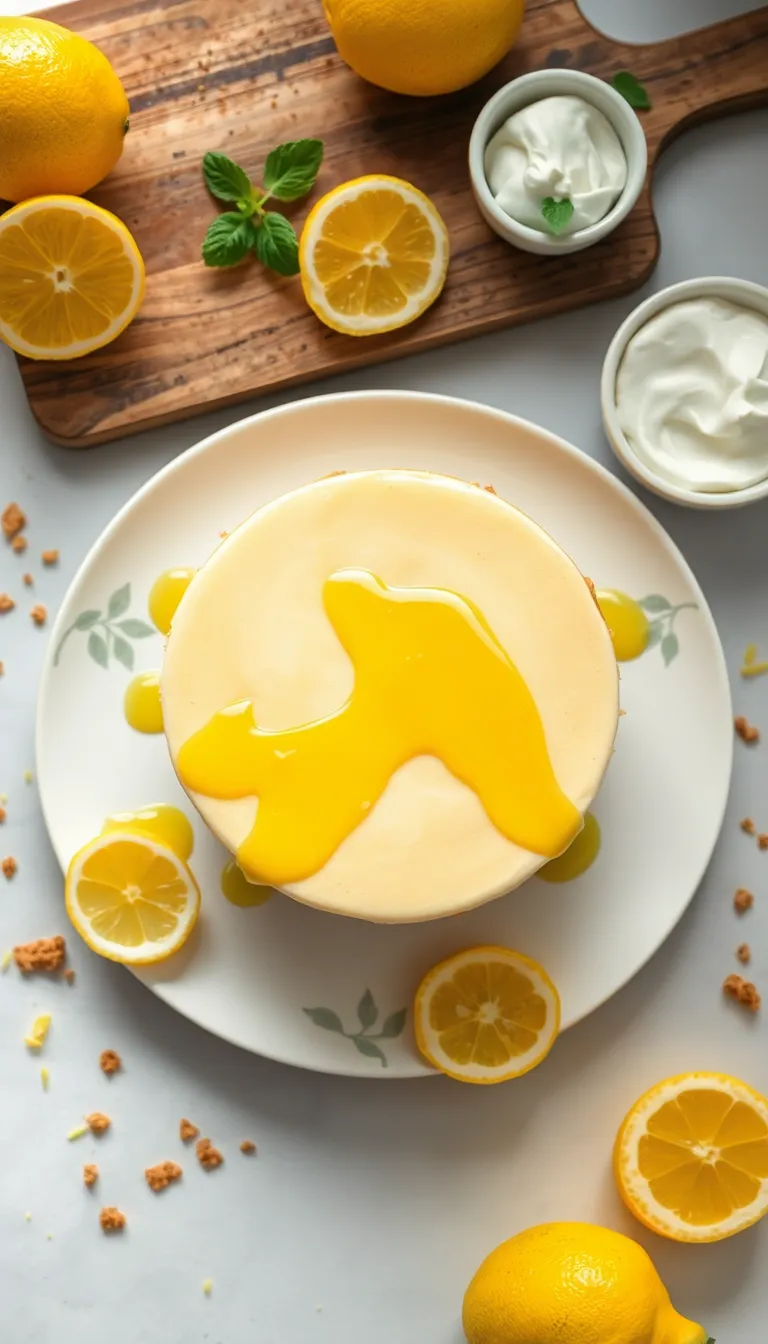
Get ready to swoon over this No-Bake Lemon Cheesecake, a dessert that elegantly balances creamy indulgence with a zesty twist. Perfect for both novice bakers and seasoned chefs, this recipe requires no oven, making it a breeze to prepare while delivering a stunningly luscious texture. The combination of tangy lemon and rich cream cheese creates a delightful harmony that dances on the palate, leaving a refreshing finish with every bite.
Imagine a silky cheesecake that melts in your mouth, with the bright citrusy notes of lemon cutting through the richness like a ray of sunshine. This recipe transforms simple ingredients into a masterpiece, inviting you to embrace the joy of creating something special with minimal effort. Whether you’re impressing guests or treating yourself, this no-bake wonder is your ticket to dessert success.
About This no-bake lemon cheesecake Recipe
- Quick and Easy: This no-bake lemon cheesecake requires minimal effort and time, perfect for those busy days when you crave something sweet and refreshing.
- Light and Refreshing Flavor: The zesty lemon combined with creamy cheesecake offers a delightful balance of tartness and richness that is sure to please your taste buds.
- No Oven Required: Skip the heat, especially during those hot summer months, and enjoy a delicious dessert without turning on the oven.
- Perfect for Any Occasion: Whether it’s a family gathering, a potluck, or a quiet evening at home, this cheesecake is sure to impress with its elegant simplicity.
- Customizable Toppings: Personalize your cheesecake with fresh fruits, whipped cream, or a drizzle of your favorite sauce to make it uniquely yours.
Why You’ll Love This Recipe
- Quick and Easy: This no-bake lemon cheesecake comes together with minimal effort and requires no oven time, making it perfect for those hot summer days or when you’re short on time.
- Refreshing Citrus Flavor: The bright, zesty lemon flavor pairs beautifully with the creamy cheesecake, offering a refreshing and delightful dessert experience.
- Perfect for Any Occasion: Whether it’s a casual family dinner or a special celebration, this cheesecake is sure to impress your guests with its elegant appearance and delicious taste.
- Customizable and Versatile: Add your favorite toppings like fresh berries or a drizzle of fruit sauce to make it uniquely yours and cater to your personal tastes.
- No Specialized Equipment Needed: You won’t need any fancy kitchen gadgets to create this dessert, making it accessible for all home cooks.
- Make-Ahead Friendly: Prepare this cheesecake in advance and let it chill in the fridge, allowing you more time to enjoy your event stress-free.
Ingredients
- 1 and 1/2 cups graham cracker crumbs
- 1/4 cup granulated sugar
- 1/2 cup unsalted butter, melted
- 16 oz cream cheese, softened
- 1 cup powdered sugar
- 1 teaspoon vanilla extract
- 1 tablespoon lemon zest
- 1/4 cup fresh lemon juice (about 2-3 lemons)
- 1 and 1/2 cups heavy whipping cream
- 1 packet unflavored gelatin (optional, for extra firmness)
- 1/4 cup water (only if using gelatin)
- 1/2 cup fresh berries (optional, for garnish)
- Mint leaves (optional, for garnish)
For a gluten-free option, substitute graham cracker crumbs with gluten-free cookie crumbs.
If you prefer a sweeter cheesecake, you can increase the powdered sugar to 1 and 1/4 cups.
If fresh lemons are unavailable, bottled lemon juice can be a suitable substitute, although fresh juice is recommended for best flavor.
Kitchen Tools You’ll Need
- Mixing Bowl: Essential for combining the cheesecake ingredients until smooth and creamy. Use a large bowl to accommodate all components comfortably.
- Electric Mixer or Whisk: An electric mixer will make it easier to blend the cream cheese mixture until smooth and lump-free. If you don’t have one, a sturdy whisk can be used with a bit more effort.
- Measuring Cups and Spoons: Accurate measurements of ingredients like sugar, lemon juice, and cream cheese are crucial for a balanced flavor and perfect texture.
- Rubber Spatula: Handy for scraping down the sides of the mixing bowl to ensure all ingredients are well incorporated.
- Springform Pan: Ideal for setting the cheesecake and allows for easy removal without damaging the dessert. If unavailable, a pie dish can be used, though serving might be less precise.
- Food Processor or Blender: Useful for crushing graham crackers into fine crumbs for the crust. Alternatively, place the crackers in a sealed bag and crush them with a rolling pin.
- Refrigerator: Required to chill the cheesecake for several hours or overnight, allowing it to set firmly before serving.
Preparation Steps
- Crush the graham crackers into fine crumbs using a food processor or by placing them in a sealed plastic bag and rolling over them with a rolling pin.
- Mix the graham cracker crumbs with melted butter until the mixture resembles wet sand. Press this mixture evenly into the bottom of a springform pan to form the crust.
- Chill the crust in the refrigerator for at least 30 minutes to allow it to firm up.
- Beat the cream cheese and sugar together in a large bowl until smooth and creamy. This should take about 2-3 minutes using an electric mixer on medium speed.
- Add the lemon juice, lemon zest, and vanilla extract to the cream cheese mixture. Mix until everything is well combined and the mixture is smooth.
- In a separate bowl, whip the heavy cream to stiff peaks, which means the cream will hold its shape when the beaters are lifted.
- Gently fold the whipped cream into the cream cheese mixture until fully incorporated. Be careful not to deflate the whipped cream.
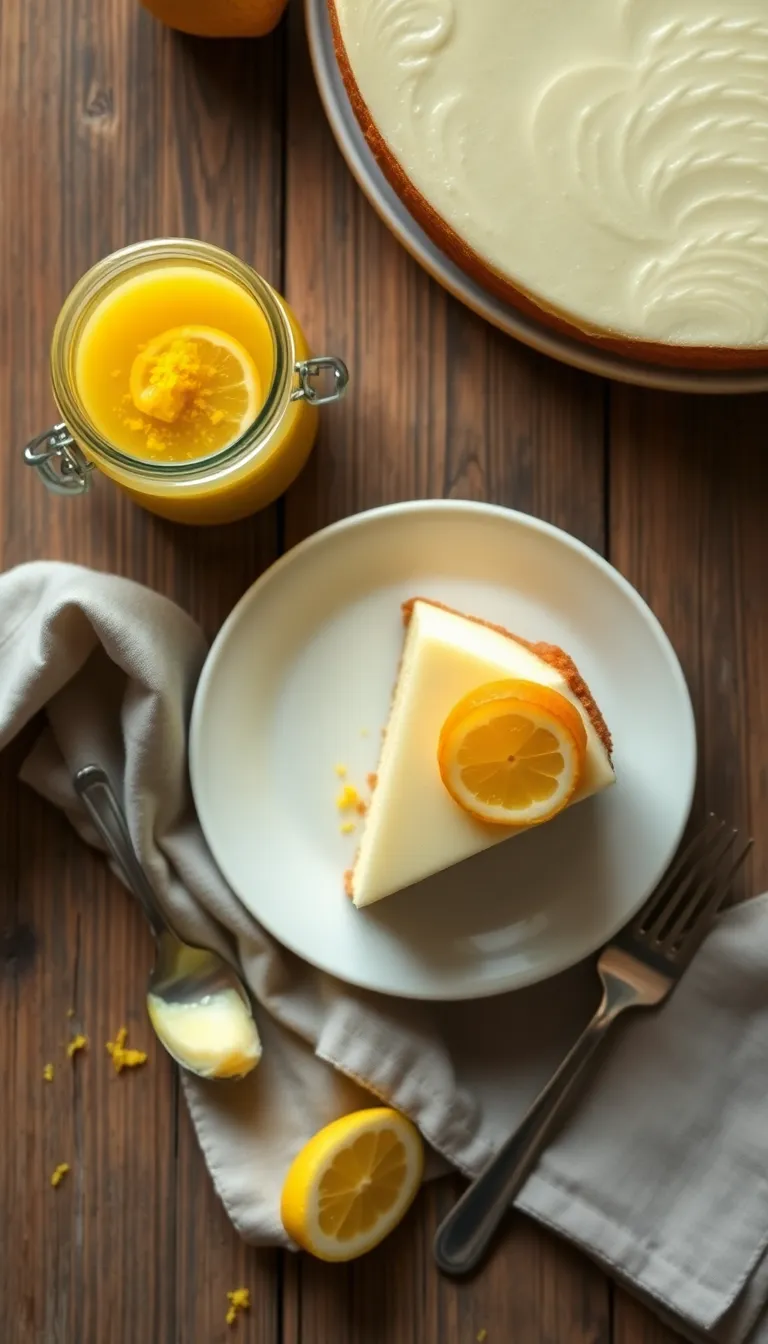
- Pour the cheesecake filling over the prepared crust and spread it evenly. Refrigerate for at least 4 hours, or until the cheesecake is fully set and firm to the touch.
Serving Suggestions
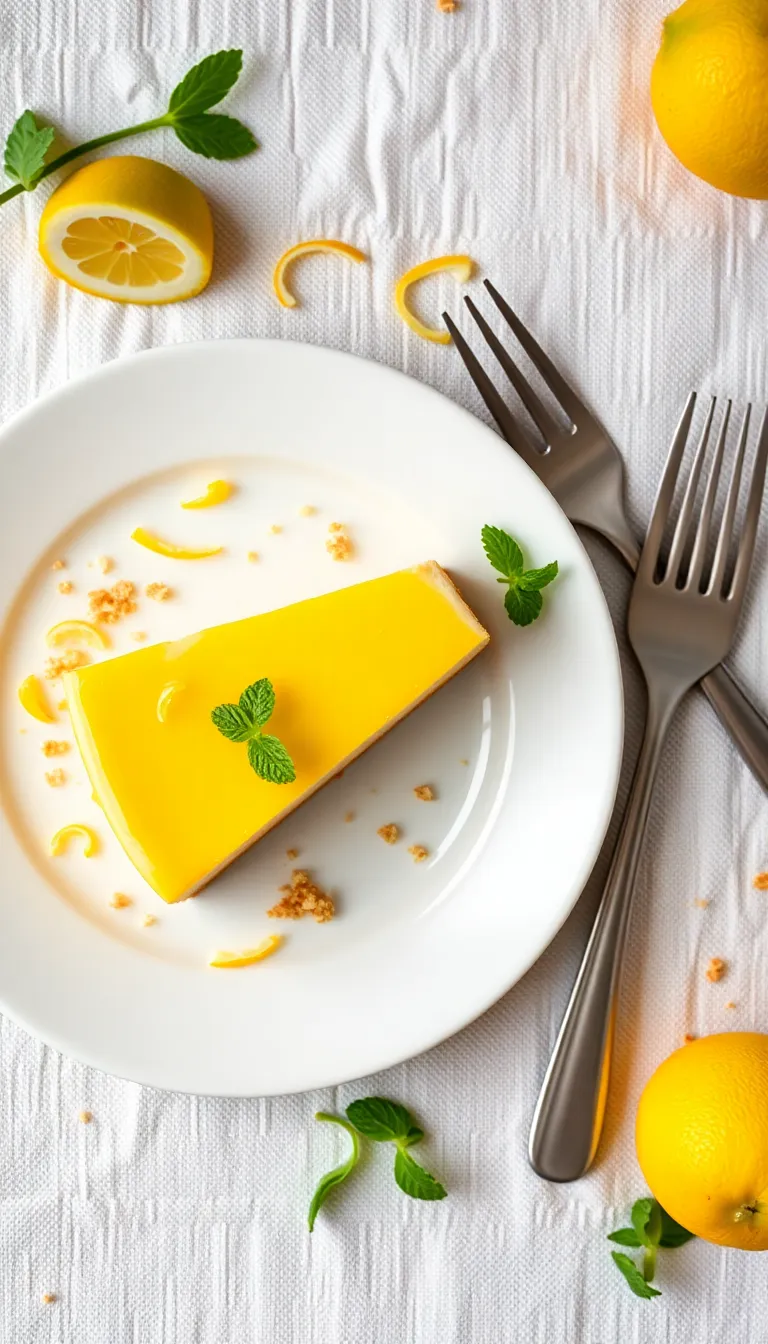
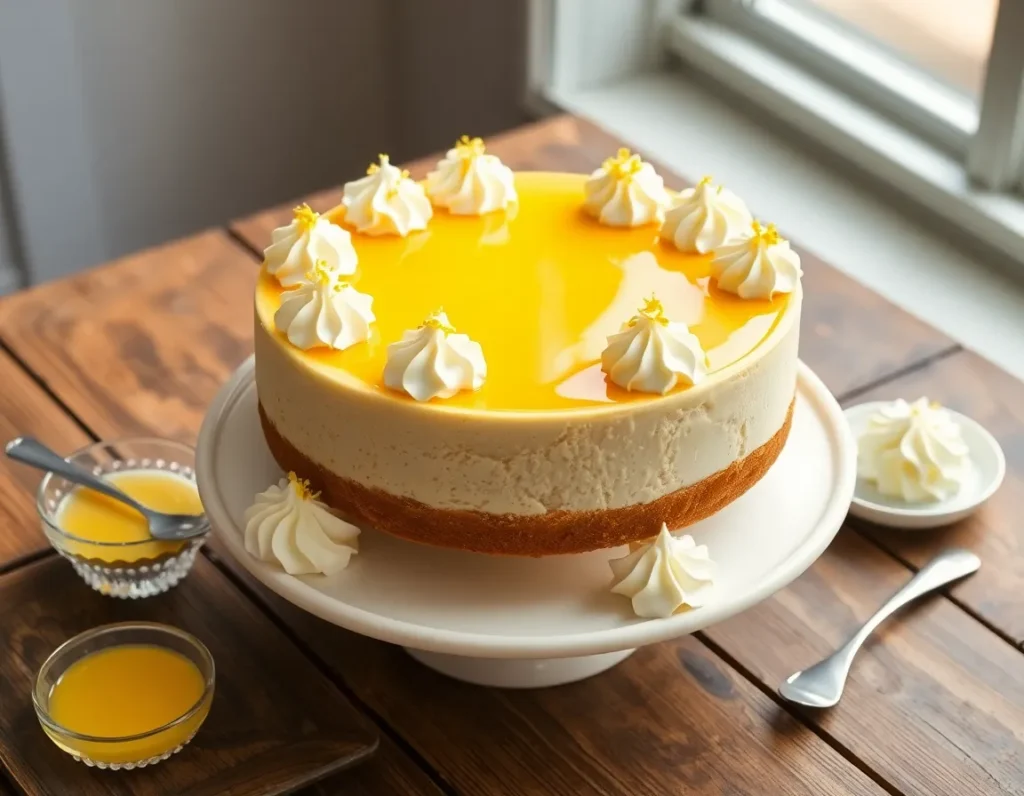
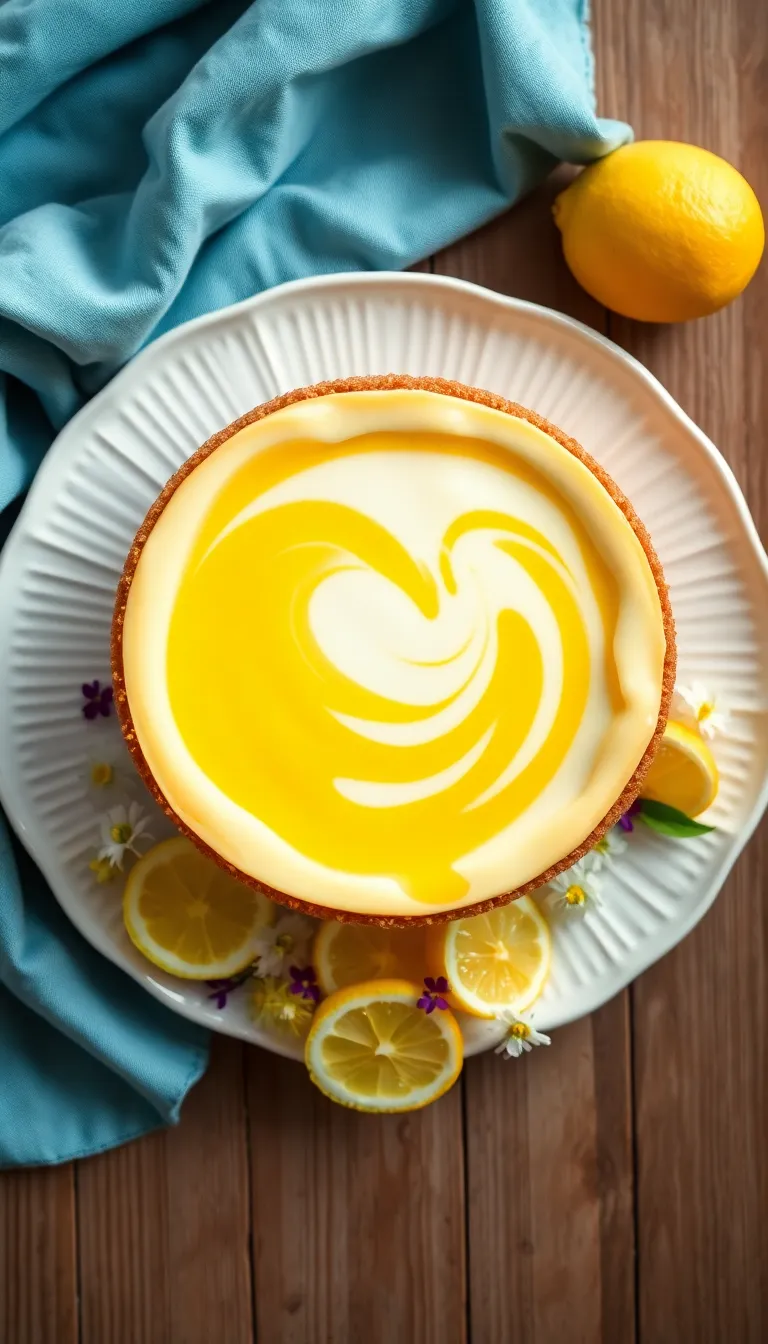
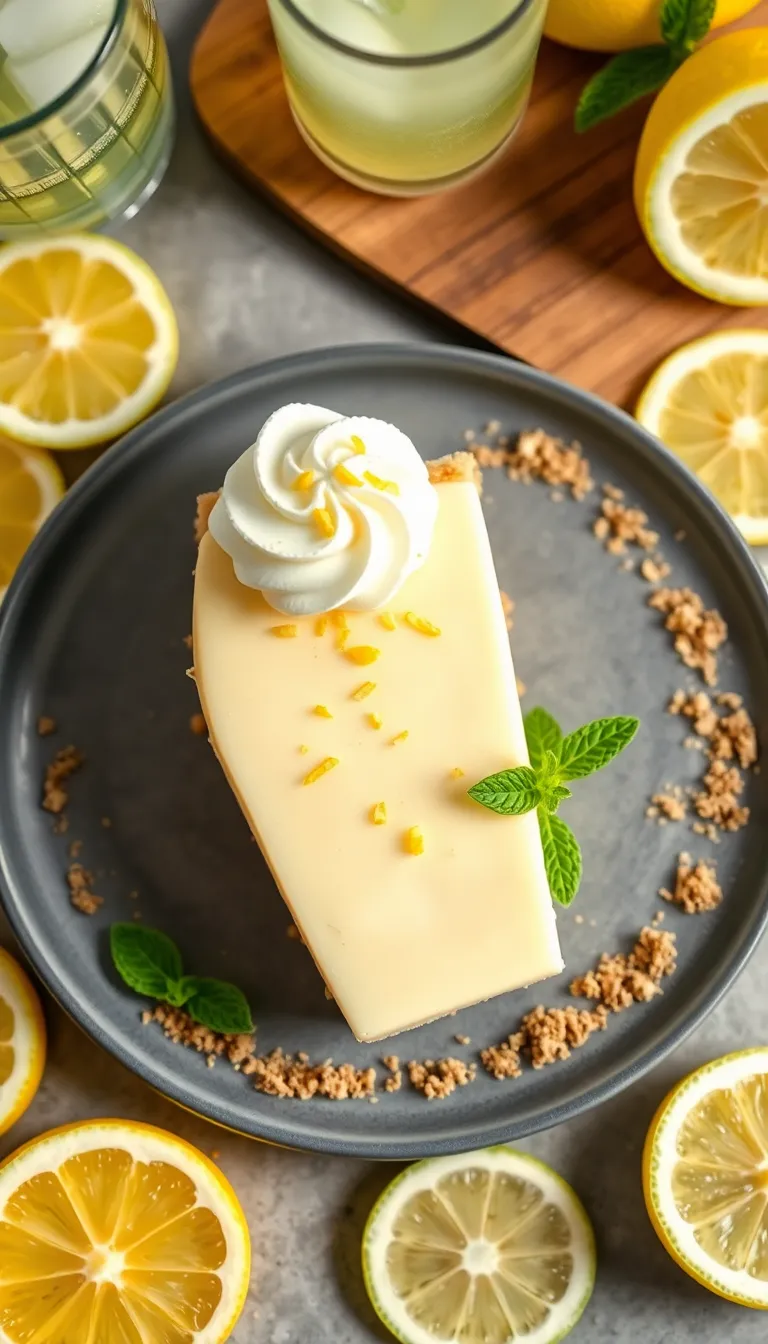
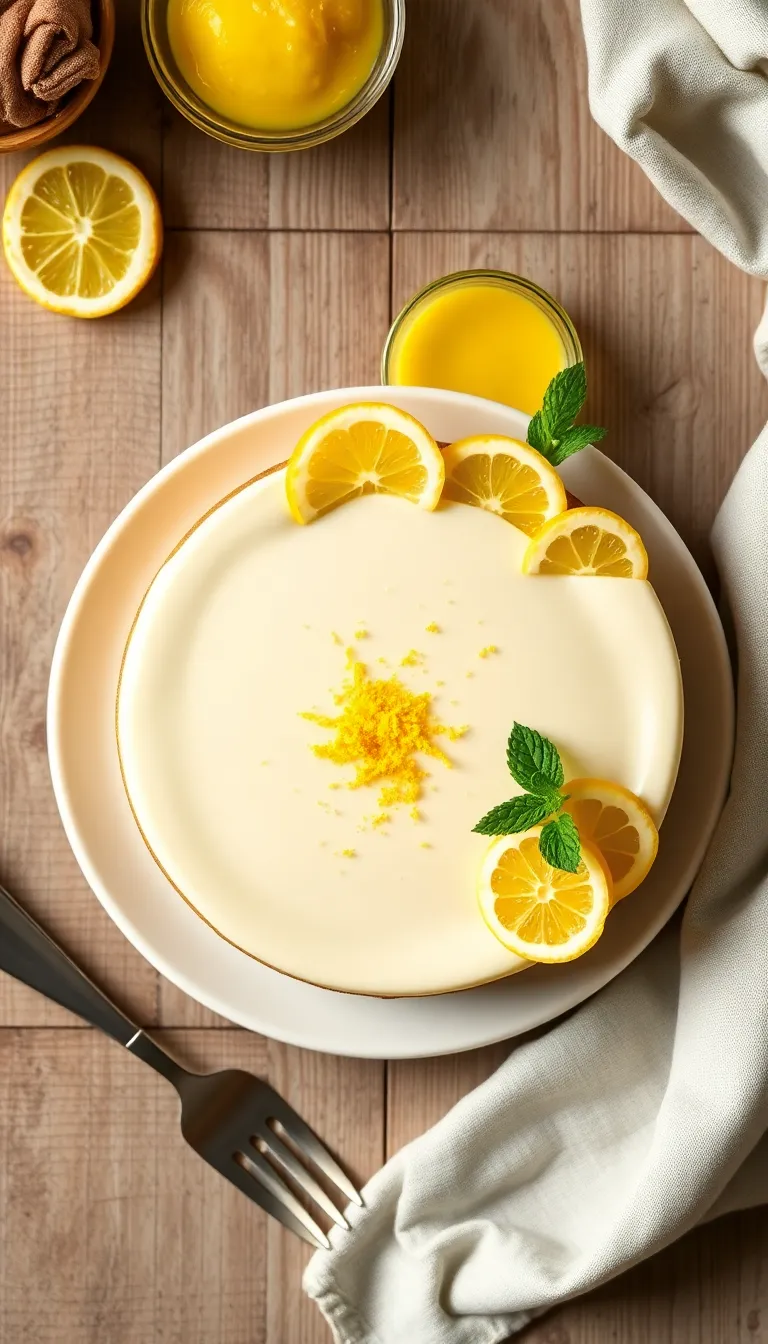
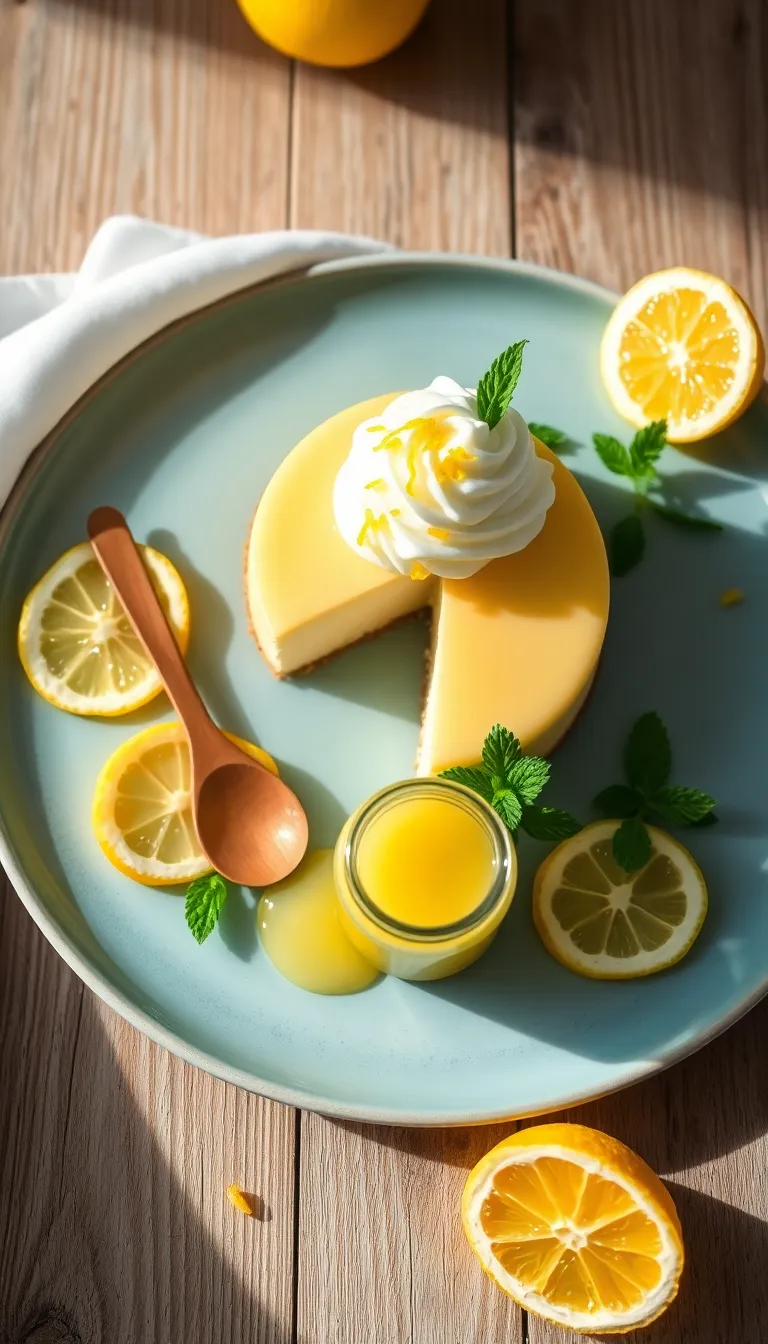
- Fresh Berries: Top each slice with a mix of fresh berries such as strawberries, blueberries, or raspberries. The tartness and vibrant colors of the berries complement the creamy, tangy cheesecake beautifully.
- Mint Garnish: Add a sprig of fresh mint on top for an extra pop of color and a refreshing aroma. This garnish not only enhances the presentation but also pairs well with the lemony flavor.
- Whipped Cream: Serve with a dollop of lightly sweetened whipped cream. The airy texture balances the rich, dense cheesecake and adds a touch of elegance to the dessert.
- Citrus Zest: Sprinkle some finely grated lemon or lime zest over the top for an added burst of citrus aroma and visual appeal. This enhances the lemon flavor profile of the cheesecake.
- Coffee or Iced Tea: Pair with a cup of coffee or a glass of iced tea for a delightful afternoon treat or dessert. The bitterness of coffee and the refreshing qualities of iced tea complement the sweetness and creaminess of the cheesecake.
- Light Salad: For a complete meal, consider serving with a light, citrusy salad. The freshness and acidity of the salad can balance the richness of the cheesecake, making it a perfect choice for a luncheon or brunch setting.
Final Thoughts: Serving this no-bake lemon cheesecake with thoughtful garnishes and pairings can transform it from a simple dessert into a memorable culinary experience. Whether you’re hosting a dinner party or enjoying a quiet afternoon treat, these suggestions will help you present a dish that’s both delicious and visually stunning.
Pro Tips for Perfect Results
- Chill the Bowl and Tools: Before whipping the cream, chill your mixing bowl and beaters in the freezer for about 15 minutes. Cold equipment helps the cream whip faster and attain a more stable consistency.
- Use Zest for Depth: Incorporate fresh lemon zest into the cream cheese mixture for an intense citrus flavor that enhances the cheesecake’s overall taste without adding extra liquid.
- Optimize Crust Texture: For a perfectly firm crust, combine graham cracker crumbs with melted butter and a pinch of salt. Press the mixture firmly and evenly into the pan using the bottom of a glass or measuring cup to ensure a compact base.
- Set Overnight for Best Results: Although the cheesecake sets in about 4 hours, allowing it to chill overnight will significantly improve its texture and flavor, making it easier to slice and serve.
- Layer Flavors with a Sauce: Pair your cheesecake with a homemade berry compote or lemon curd to add a tangy and sweet contrast, elevating the dessert to an elegant level.
- Chef’s Secret: Gelatin for Stability: For a firmer cheesecake that holds its shape when sliced, dissolve a teaspoon of gelatin in a tablespoon of warm water and mix it into the cream cheese batter.
Common Mistakes to Avoid
- Using Low-Fat Cream Cheese: Low-fat cream cheese can result in a runny cheesecake that doesn’t set properly. To avoid this, always opt for full-fat cream cheese to ensure a rich and creamy texture.
- Not Softening the Cream Cheese: Cold cream cheese can lead to a lumpy mixture. Let the cream cheese reach room temperature before mixing to achieve a smooth and even consistency.
- Skipping the Gelatin Blooming Step: Gelatin needs to be properly bloomed to set the cheesecake. Sprinkle gelatin over cold water and let it sit for a few minutes before dissolving it in warm liquid. This ensures the cheesecake will firm up correctly.
- Overmixing the Filling: Mixing too vigorously can incorporate excess air, leading to a lighter texture that may not set well. Mix just until combined to maintain a dense, creamy structure.
- Not Chilling Long Enough: A common mistake is cutting into the cheesecake too soon. For best results, chill the cheesecake for at least 4 hours, or overnight, to allow it to fully set and develop its flavors.
Storage and Reheating Tips
- Storage in Refrigerator: After serving, cover the cheesecake with plastic wrap or store it in an airtight container. Refrigerate promptly to maintain its texture and freshness.
- Refrigeration Duration: The cheesecake can be stored in the refrigerator for up to 5 days. Ensure it remains covered to prevent it from absorbing other odors from the fridge.
- Freezing Instructions: To freeze, place the cheesecake on a flat tray and freeze until solid. Once frozen, wrap it in plastic wrap and then in aluminum foil to prevent freezer burn. Store in the freezer for up to 2 months.
- Thawing Frozen Cheesecake: To thaw, transfer the cheesecake to the refrigerator and let it sit overnight. This gradual thawing helps preserve its creamy texture.
- Reheating Tips: No reheating is typically necessary for a no-bake cheesecake. If you prefer a slightly warmer slice, let it sit at room temperature for about 10-15 minutes before serving.
- Food Safety Considerations: Always keep the cheesecake refrigerated until ready to serve to prevent bacterial growth. Avoid leaving it out at room temperature for more than 2 hours.
Frequently Asked Questions
Q: Can I use bottled lemon juice instead of fresh lemons?
- Yes, you can use bottled lemon juice, but freshly squeezed lemon juice is recommended for the best flavor.
Q: What can I use instead of graham crackers for the crust?
- You can substitute graham crackers with digestive biscuits or crushed vanilla wafers for a different flavor and texture.
Q: How can I ensure my cheesecake sets properly?
- Make sure the cheesecake is refrigerated for at least 4 hours or overnight for the best results.
Q: Can this cheesecake be made dairy-free?
- Yes, you can use dairy-free cream cheese and coconut cream as substitutes to make this cheesecake dairy-free.
Q: What should I do if my cheesecake is too tart?
- If the cheesecake is too tart, try adding more sugar or sweetener to balance the flavor.
Q: Can I add other flavors to this cheesecake?
- Absolutely! You can add flavors like vanilla extract or a berry compote topping for added variety.
Final Thoughts

This No-Bake Lemon Cheesecake is a delightful treat that brings together the tangy freshness of lemon with the creamy smoothness of cheesecake, all without needing an oven. It’s a perfect blend of flavors and textures that makes it a must-try for both seasoned bakers and beginners alike. The simplicity and ease of this recipe make it an ideal choice for any occasion, from casual gatherings to elegant dinners.
Don’t hesitate to experiment and make this recipe your own by adding a personal touch, whether it’s a sprinkle of your favorite berries on top or a swirl of raspberry sauce. Unleash your creativity and savor the satisfaction of creating a dessert that reflects your unique taste. Remember, the joy of cooking comes from making each dish a reflection of yourself.
We warmly invite you to give this No-Bake Lemon Cheesecake a try. It’s a recipe that’s sure to become a favorite in your dessert repertoire, bringing smiles and sweet moments to your table. Happy no-baking!

Hi, I’m Anjali Arora — the curious heart behind Feast Chase.
To be honest, I’ve always felt most at ease in my own company. I’m not exactly a people-person (small talk still makes me cringe), but there are two things I’ve always loved deeply: animals and food.