
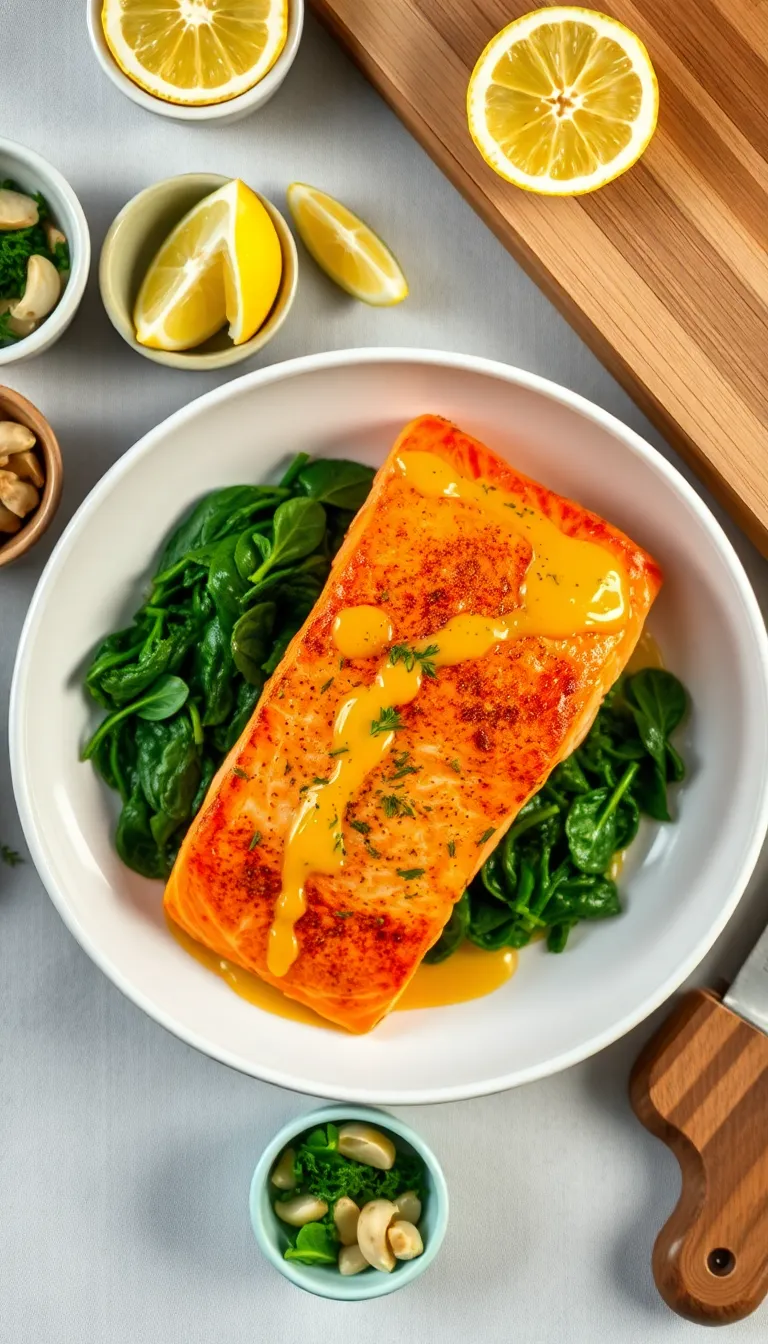
Prepare to fall head over heels with the “Marry Me Salmon” recipe, a dish that promises to enchant both novice and seasoned cooks. This culinary masterpiece combines the richness of tender, flaky salmon with a luxurious, creamy sauce infused with sun-dried tomatoes, garlic, and a hint of fresh basil. The aroma alone is enough to sweep you off your feet, and the taste? Pure magic.
Imagine the sizzle of salmon as it meets the pan, releasing a mouthwatering symphony of flavors that dance together in perfect harmony. Whether you’re looking to impress a special someone or simply indulge in a delightful meal, this recipe is your ticket to culinary bliss. With straightforward steps and accessible ingredients, you’ll feel like a kitchen virtuoso, confidently creating a dish that’s as memorable as it is delectable.
About This marry me salmon Recipe
- Quick and Easy: This Marry Me Salmon recipe comes together in just 30 minutes, making it perfect for busy weeknights or last-minute dinner plans.
- Flavor Explosion: The dish combines rich, creamy sauce with zesty lemon and savory herbs, creating a flavor profile that is both sophisticated and comforting.
- Healthy and Nutritious: Packed with omega-3 fatty acids and high-quality protein, this salmon dish is as good for your body as it is for your taste buds.
- Gourmet Appeal: Impress your family or guests with a restaurant-quality meal that looks and tastes like you spent hours in the kitchen.
- Perfect for Any Occasion: Whether it’s a romantic dinner or a casual family meal, this dish is versatile enough to suit any occasion.
Why You’ll Love This Recipe
- Bursting with Flavor: This Marry Me Salmon recipe combines the rich, savory taste of salmon with a creamy, sun-dried tomato sauce that will leave your taste buds dancing.
- Quick and Easy: Perfect for busy weeknights, this dish can be prepared in under 30 minutes, making it a time-saving solution for a delicious dinner.
- Healthy Indulgence: Packed with omega-3 fatty acids and protein, this salmon dish offers a nutritious meal that doesn’t compromise on taste.
- Impressive Presentation: Whether you’re cooking for a date night or a family gathering, this recipe’s vibrant colors and enticing aroma will surely impress your guests.
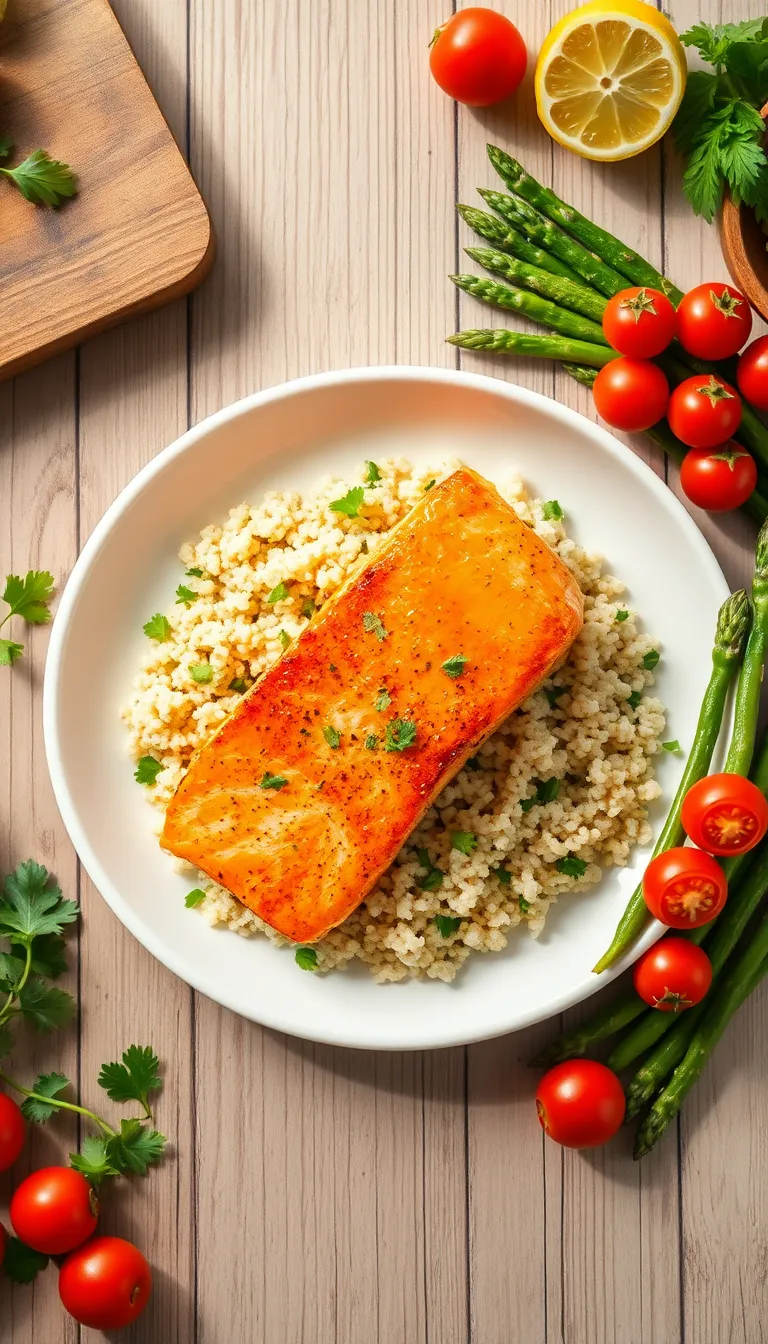
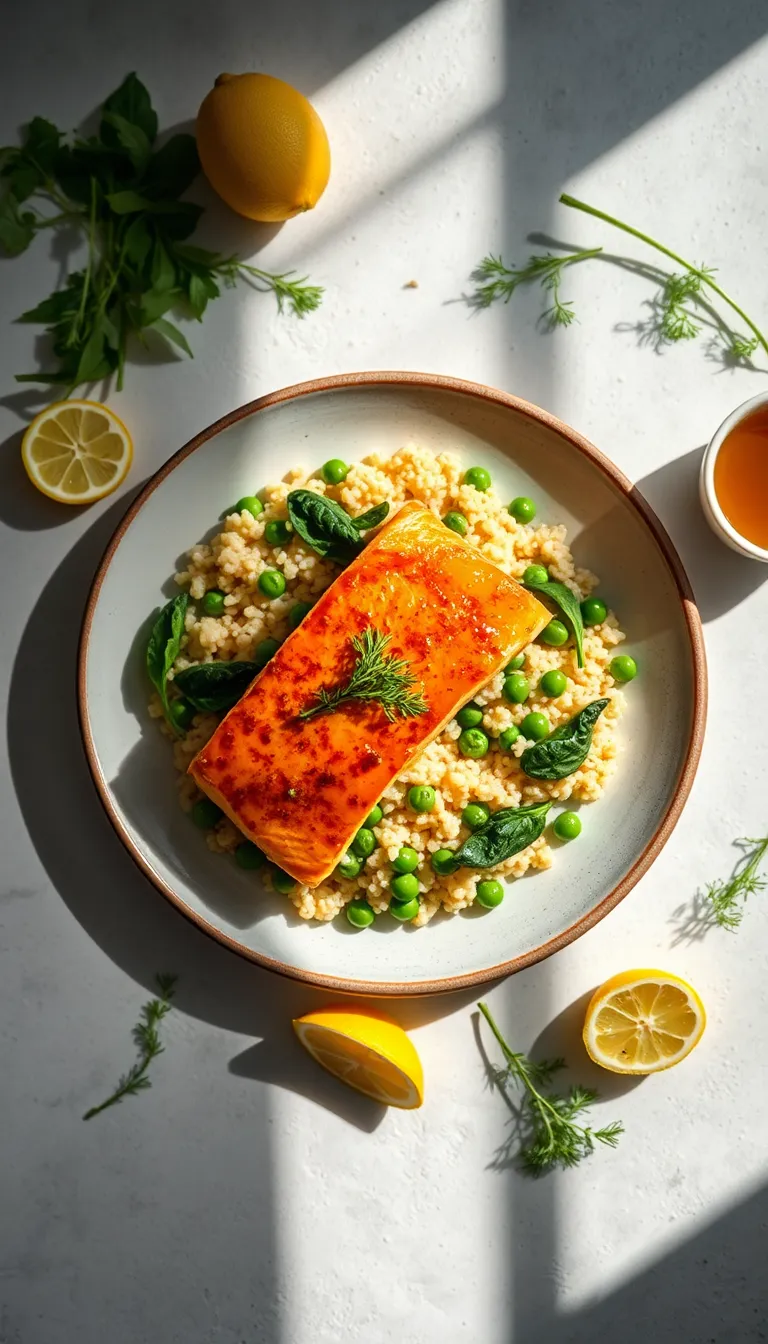
- Versatile Pairings: Pair this salmon with a variety of sides, from simple steamed vegetables to a hearty grain like quinoa, to tailor the meal to your preference.
Ingredients
- 4 salmon fillets, skin-on (about 6 ounces each)
- 2 tablespoons olive oil
- 1 teaspoon salt
- 1/2 teaspoon black pepper
- 3 cloves garlic, minced
- 1/2 cup sundried tomatoes, chopped (packed in oil, drained)
- 1/2 cup heavy cream
- 1/4 cup chicken broth
(or vegetable broth for a lighter taste)
- 1/4 teaspoon red pepper flakes
(adjust for desired spice level)
- 1/2 cup grated Parmesan cheese
- 1/4 cup fresh basil leaves, chopped
- 2 tablespoons fresh lemon juice
(about 1 lemon)
- 1 teaspoon cornstarch
(mixed with 1 tablespoon water, to thicken sauce if needed)
- 1 tablespoon capers, rinsed and drained (optional)
- Fresh parsley for garnish (optional)
Kitchen Tools You’ll Need
- Non-stick Skillet or Frying Pan: Essential for searing the salmon fillets to a perfect golden brown. If you don’t have a non-stick option, a well-seasoned cast-iron skillet can also work.
- Spatula: Useful for flipping the salmon fillets without breaking them apart. A fish spatula or a flexible silicone spatula would be ideal.
- Knife: A sharp chef’s knife or paring knife will be needed to finely chop any fresh herbs or garlic used in the sauce.
- Cutting Board: Provides a stable surface for chopping and preparing ingredients. Opt for a non-slip board for added safety.
- Measuring Spoons: Necessary for accurately measuring smaller quantities of spices and seasonings to ensure balanced flavors.
- Measuring Cups: Useful for measuring liquids or larger quantities of ingredients used in the sauce.
- Mixing Bowl: Handy for combining ingredients for the sauce, allowing for easy mixing before adding to the skillet.
Preparation Steps
- Preheat your oven to 375°F (190°C) and line a baking sheet with parchment paper or foil for easy cleanup.
- Season the salmon fillets with salt and pepper on both sides, ensuring an even coating.
- Heat a large skillet over medium-high heat and add a tablespoon of olive oil. Tip: The oil should shimmer when ready.
- Sear the salmon fillets, skin-side down, for 3-4 minutes until the skin is crispy and easily releases from the pan.
- Flip the salmon and cook for an additional 2 minutes, then remove from heat and set aside. Warning: Do not overcook; the salmon will finish cooking in the oven.
- In the same skillet, add a tablespoon of butter and sauté minced garlic until fragrant, about 30 seconds. Specialty Technique: Deglaze the pan by adding a splash of white wine, scraping up any browned bits.
- Pour the garlic butter sauce over the salmon and transfer the baking sheet to the oven. Bake for 8-10 minutes until the salmon is opaque and flakes easily with a fork.
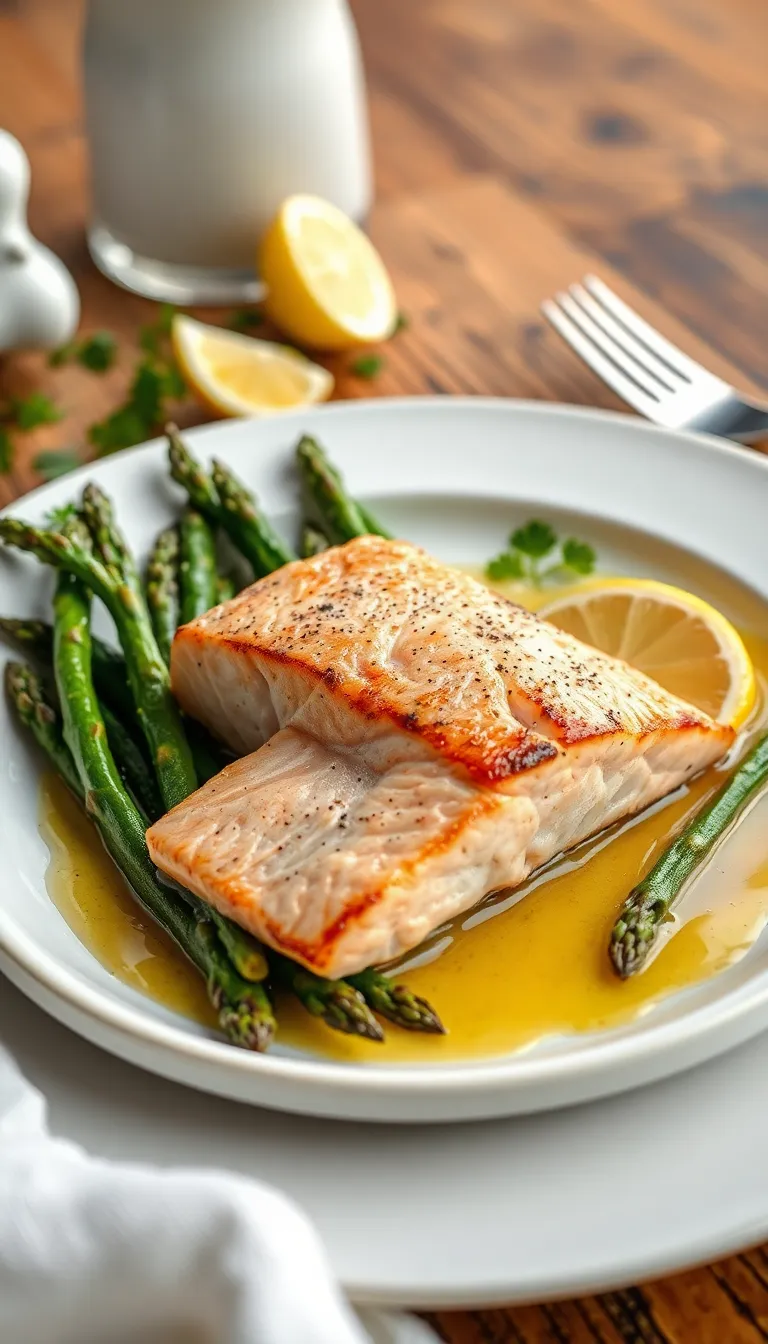
- Remove from the oven and garnish with fresh herbs or lemon slices before serving. Visual Cue: The herbs should stay vibrant and not wilt upon contact.
Serving Suggestions
- Serve with Garlic Mashed Potatoes: The creamy texture and mild garlic flavor of mashed potatoes complement the rich and savory sauce of the Marry Me Salmon, providing a comforting and hearty meal.
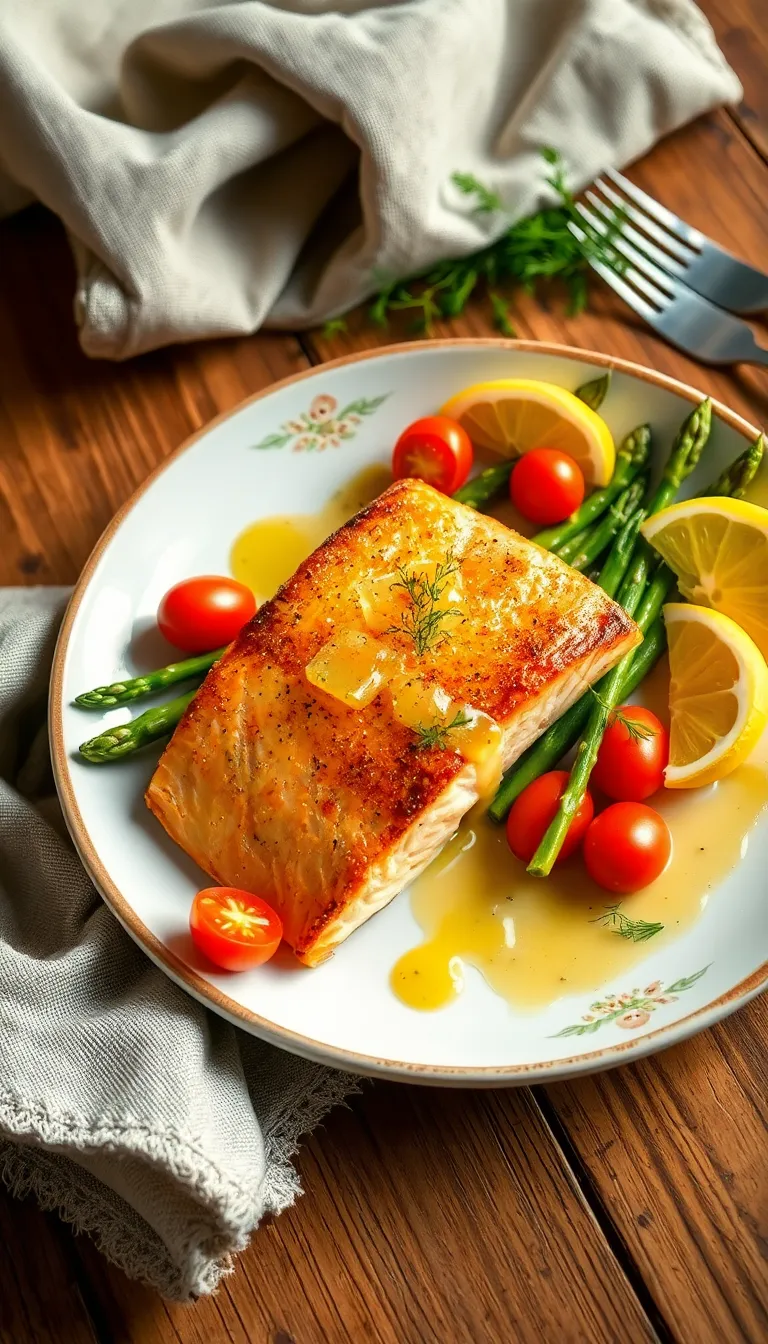
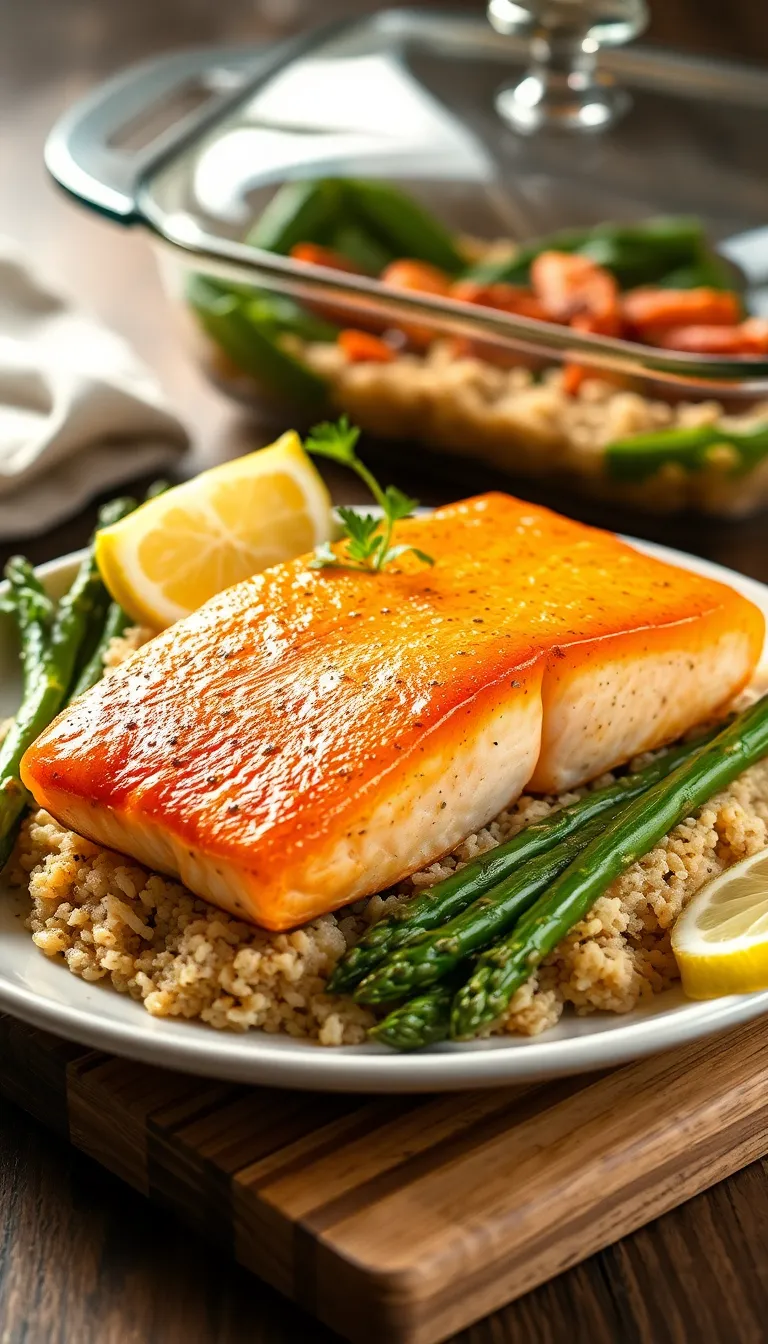
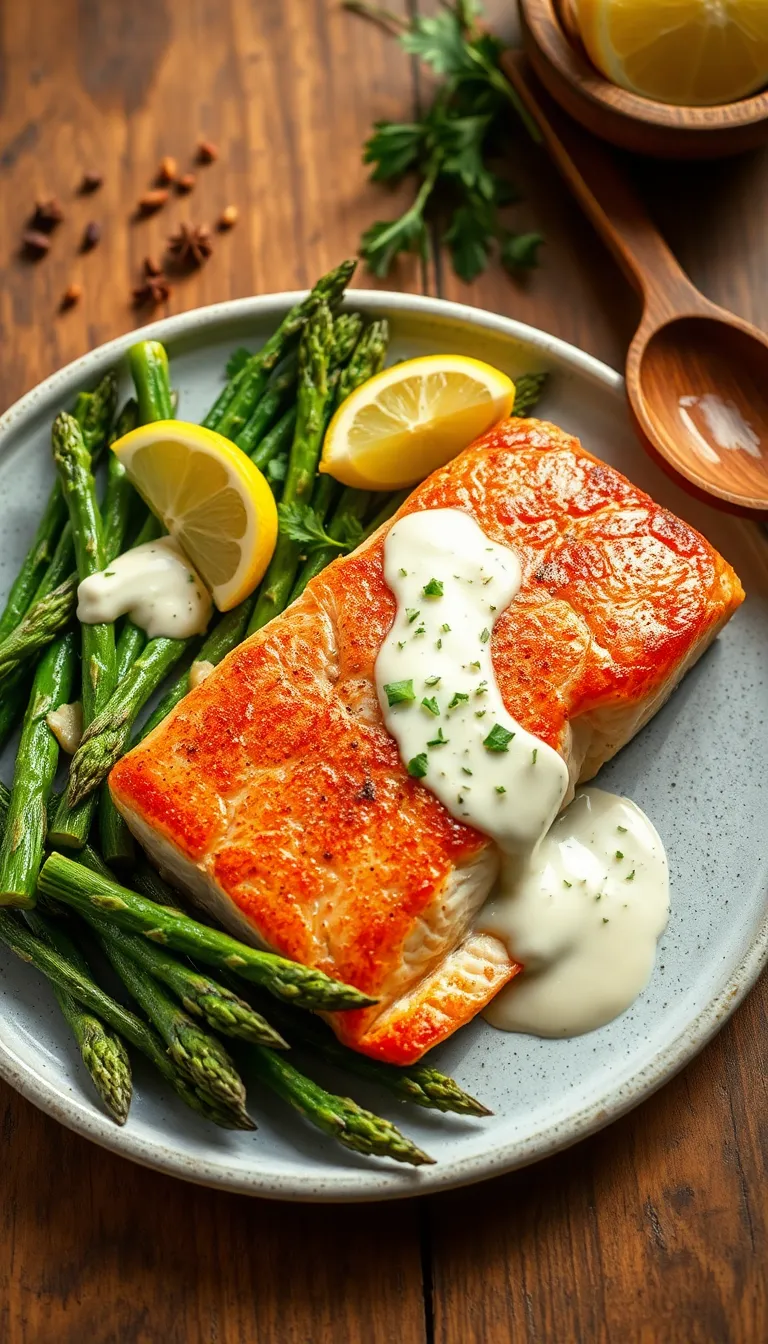
- Pair with Steamed Asparagus: The crisp, fresh taste of asparagus adds a nice contrast to the salmon’s rich flavors. A squeeze of lemon over the asparagus enhances the overall dish.
- Place on a Bed of Wild Rice: The nutty flavor and chewy texture of wild rice provide an earthy base that highlights the salmon’s flavors, perfect for an elegant dinner setting.
- Garnish with Fresh Herbs: Use a sprinkle of fresh dill or parsley to add a pop of color and a fresh, aromatic touch that enhances the presentation and flavor of the dish.
- Complement with a Chilled White Wine: A crisp Sauvignon Blanc or Chardonnay pairs well with the rich and buttery flavors of the salmon, making it ideal for a celebratory dinner.
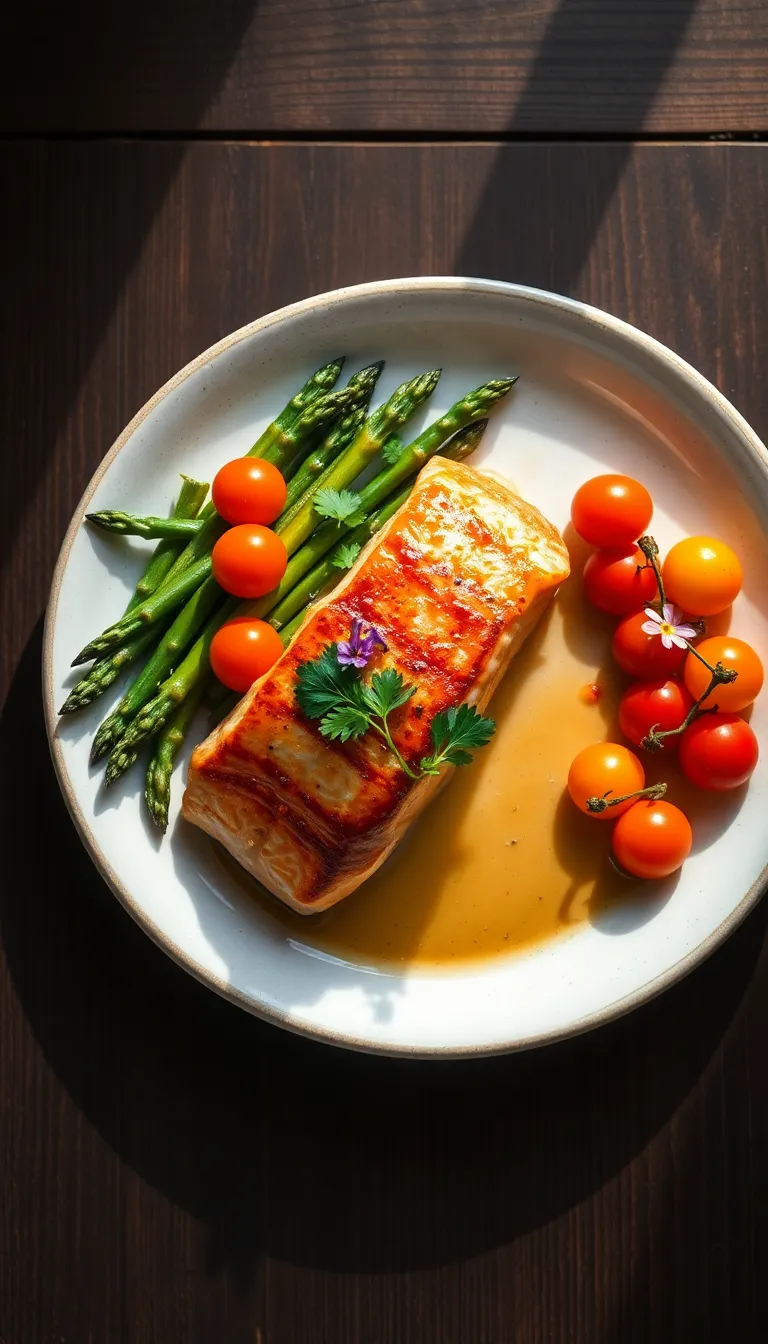
- Include a Fresh Garden Salad: A side salad with mixed greens, cherry tomatoes, and a light vinaigrette adds a refreshing and vibrant element, balancing the richness of the salmon.
Pro Tips for Perfect Results
- Use a Cast-Iron Skillet: For a beautiful sear and even cooking, opt for a cast-iron skillet. It retains heat well and gives the salmon a crispy exterior while keeping the inside moist and tender.
- Season Generously: Don’t skimp on seasoning. A good sprinkle of salt and pepper enhances the salmon’s natural flavors. Consider adding a pinch of smoked paprika for an extra depth of flavor.
- Marinate Ahead: Prepare the marinade up to 24 hours in advance and let the salmon soak for at least 30 minutes before cooking. This allows the flavors to penetrate deeply, resulting in a more flavorful dish.
- Control the Temperature: Start with high heat to sear the salmon, then lower the heat to finish cooking. This technique ensures a crispy skin without overcooking the inside.
- Add Fresh Herbs at the End: Sprinkling fresh herbs like dill or parsley just before serving adds a burst of freshness and enhances the overall flavor profile of the dish.
- Chef’s Secret – Baste with Butter: During the final minutes of cooking, spoon melted butter over the salmon. This not only enriches the flavor but also gives the fish a gorgeous, glossy finish.
Common Mistakes to Avoid
- Overcooking the Salmon: Overcooking is a common issue that can result in dry and tough salmon. This happens when salmon is cooked too long or at a too high temperature. To avoid this, cook the salmon until it reaches an internal temperature of 145°F (63°C), or until it flakes easily with a fork. Use a meat thermometer for accuracy and remember that salmon continues to cook slightly after being removed from the heat.
- Using Cold Salmon: Cooking salmon straight from the fridge can lead to uneven cooking, with the outside overcooked by the time the inside is done. Allow the salmon to come to room temperature for about 15-20 minutes before cooking. This ensures even cooking throughout the fillet.
- Skipping the Marinade: The marinade is crucial for infusing the salmon with flavor. Skipping this step or not allowing enough time for the fish to marinate can result in a bland dish. Marinate the salmon for at least 30 minutes to let the flavors penetrate the fish effectively.
- Using the Wrong Pan: Using a non-stick or thin pan can lead to uneven cooking and poor caramelization. Opt for a heavy-bottomed skillet or a well-seasoned cast iron pan to achieve a perfectly seared crust. Preheat the pan before adding the salmon to ensure it doesn’t stick and cooks evenly.
- Not Patting the Salmon Dry: Excess moisture on the salmon prevents it from getting a good sear and can result in steaming rather than browning. Always pat the salmon dry with paper towels before seasoning and cooking to help achieve a crispy exterior.
Storage and Reheating Tips
- Allow the salmon to cool completely before transferring it to storage containers to prevent condensation and sogginess.
- Store the salmon in an airtight container to maintain freshness and prevent odors from the fridge affecting the dish.
- Refrigerate the salmon for up to 3 days. Do not consume if it has been stored for longer than this timeframe.
- If freezing, wrap the salmon tightly in plastic wrap or aluminum foil, then place it in a freezer-safe bag or container. This helps prevent freezer burn.
- Frozen salmon can be stored for up to 2 months. Label the package with the date of freezing to keep track of its shelf life.
- To reheat refrigerated salmon, place it on a baking sheet and cover it loosely with foil. Warm it in a preheated oven at 275°F (135°C) for about 15 minutes or until heated through.
- For frozen salmon, thaw it in the refrigerator overnight before reheating. Avoid thawing at room temperature to reduce the risk of bacterial growth.
- Microwave reheating is possible but may lead to uneven heating. If using a microwave, cover the salmon with a microwave-safe lid and heat on medium power in short intervals, checking frequently.
- Avoid reheating salmon more than once to maintain its quality and ensure food safety.
By following these storage and reheating tips, you can enjoy your Marry Me Salmon leftovers without losing their delightful flavors and textures. Proper handling not only keeps the dish safe to eat but also preserves its quality for a satisfying meal every time.
Frequently Asked Questions
Q: Can I use frozen salmon for this recipe?
- Yes, you can use frozen salmon, but make sure to thaw it completely in the refrigerator before cooking for the best results.
Q: How can I make the sauce less salty?
- If the sauce is too salty, try adding a splash of lemon juice or a pinch of sugar to balance the flavors.
Q: What can I substitute for heavy cream?
- You can use coconut milk or half-and-half as a lighter alternative to heavy cream.
Q: How do I know when the salmon is cooked through?
- The salmon is done when it flakes easily with a fork and has an internal temperature of 145°F (63°C).
Q: Can I add vegetables to this dish?
- Yes, you can add vegetables such as spinach or cherry tomatoes to the sauce for added flavor and nutrition.
Q: What can I serve with Marry Me Salmon?
- This dish pairs well with rice, pasta, or a side of steamed vegetables.
Final Thoughts
This ‘Marry Me Salmon’ recipe is a delightful fusion of flavors that will make any mealtime feel special. With its rich, creamy sauce and perfectly cooked salmon, it’s no wonder that this dish is said to be so irresistible. The combination of sun-dried tomatoes, garlic, and herbs creates an unforgettable taste experience that’s both comforting and gourmet.
Feel free to add your own twist to this recipe, whether it’s by adding a touch of spice or pairing it with your favorite side dishes. Cooking is a wonderful way to express yourself, and this dish is versatile enough to suit your personal tastes. Don’t hesitate to experiment and make it truly your own.
We invite you to try this recipe and discover why it’s a favorite among so many. Let the ‘Marry Me Salmon’ enchant your taste buds and bring a sense of joy to your dining experience. Happy cooking!

Hi, I’m Anjali Arora — the curious heart behind Feast Chase.
To be honest, I’ve always felt most at ease in my own company. I’m not exactly a people-person (small talk still makes me cringe), but there are two things I’ve always loved deeply: animals and food.