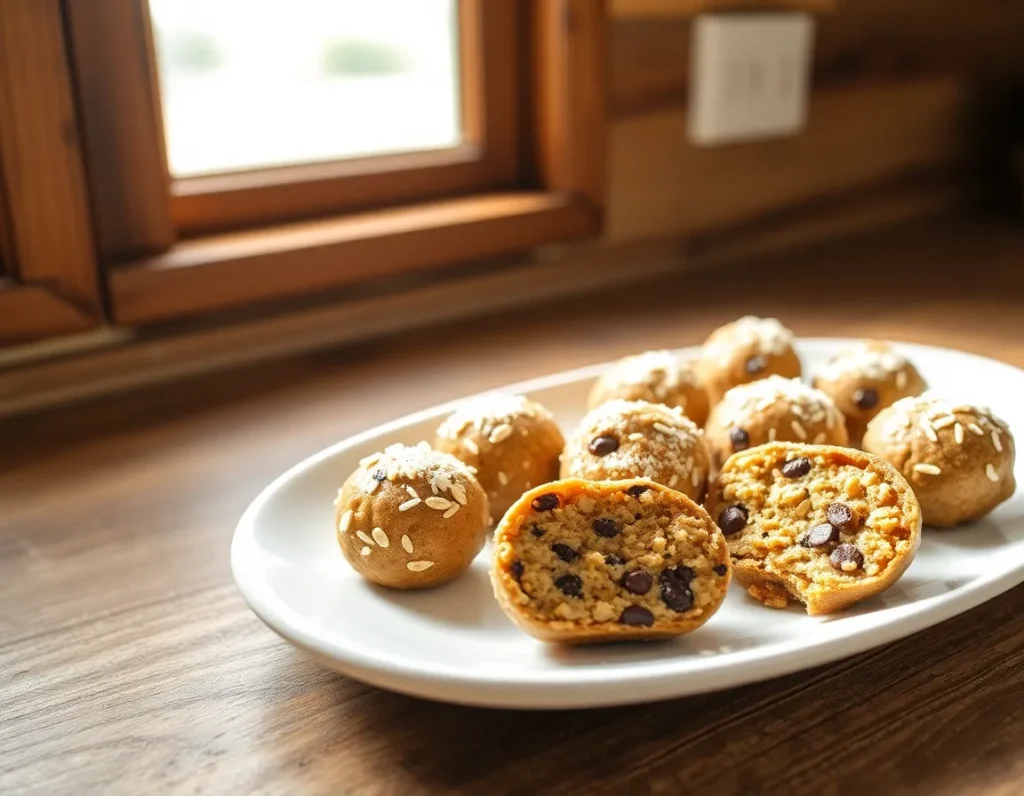
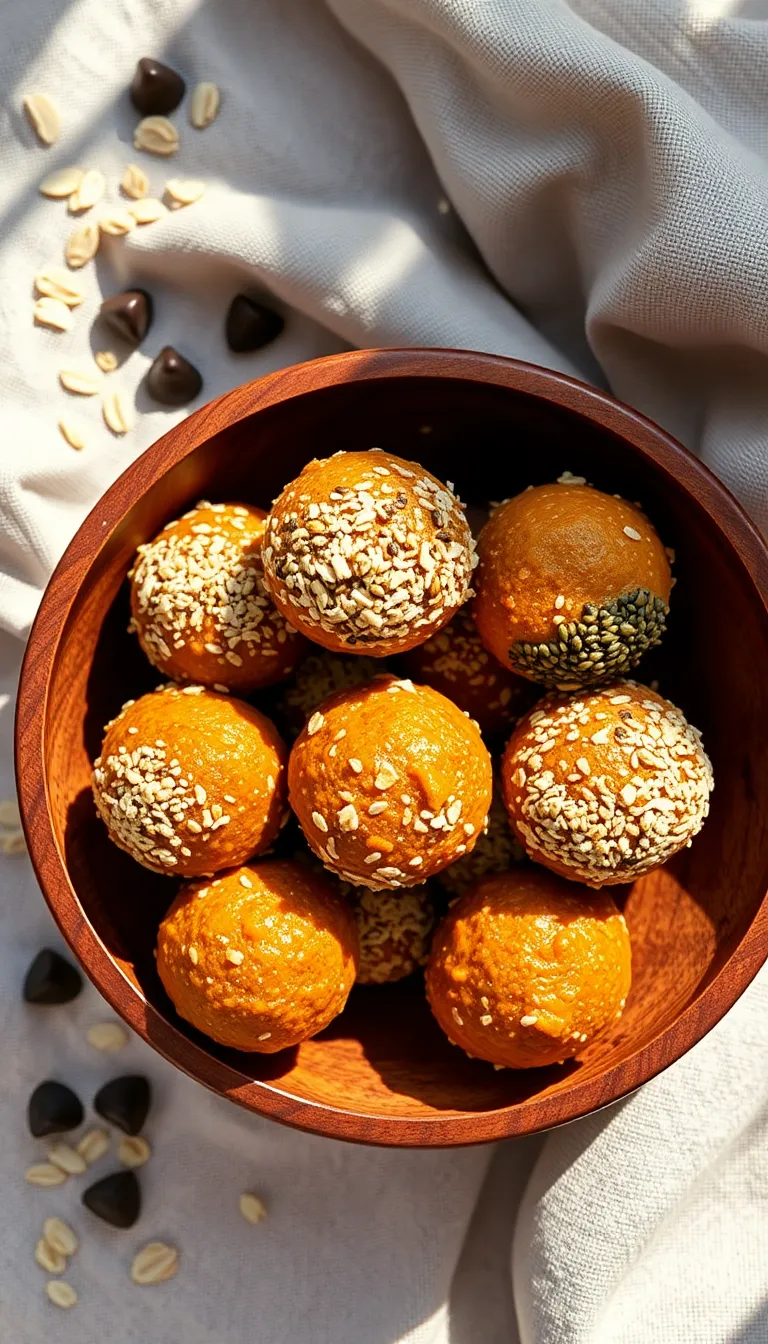
Get ready to indulge in a deliciously nourishing treat with our Lactation Balls Recipe, perfect for new moms and snack lovers alike! These little powerhouses are packed with wholesome ingredients like oats, flaxseed, and peanut butter, creating a delightful balance of creamy and nutty flavors that dance on your palate. Whether you’re a beginner or a seasoned cook, rolling these energy bites is as satisfying as their taste.
Imagine biting into a soft, chewy ball that’s subtly sweet with a hint of chocolatey goodness from dark chocolate chips, leaving you wanting more. This recipe is not just about taste; it’s a comforting, supportive snack that helps boost energy and lactation. No matter your cooking experience, you’ll find the process simple and rewarding, promising a batch of scrumptious bites that everyone can enjoy.
About This lactation balls Recipe
- Boosts Milk Production: Packed with galactagogues like oats and flaxseed, these lactation balls help nursing mothers increase milk supply naturally.
- Quick and Easy: No baking required! These treats are ready in just 15 minutes, perfect for busy moms.
- Deliciously Nutritious: Combining nut butter, honey, and chocolate chips, they offer a delightful balance of sweetness and nutrition.
- Energy-Boosting: High in fiber and healthy fats, they provide a much-needed energy boost to keep up with the demands of motherhood.
- Customizable: Easily adapt the recipe with your favorite add-ins like dried fruits or seeds to suit your taste preferences.
Why You’ll Love This Recipe
- Boosts Milk Production: These lactation balls are packed with ingredients known to help enhance milk supply, making them perfect for new moms.
- Easy and Quick to Make: With just a few simple steps, you can whip up a batch in under 15 minutes, saving valuable time for busy parents.
- Deliciously Nutritious: Enjoy a sweet treat that’s not only tasty but also rich in essential nutrients like fiber, protein, and healthy fats.
- Customizable Flavors: Adapt this recipe to suit your taste preferences by adding your favorite nuts, seeds, or dried fruits.
- No Baking Required: These no-bake lactation balls are perfect for when you want a homemade snack without the hassle of turning on the oven.
Ingredients
Ingredients
- 1 cup rolled oats
- 1/2 cup almond butter
(can substitute with peanut butter or sunflower seed butter for a nut-free option)
- 1/2 cup ground flaxseed
(a key ingredient for boosting lactation)
- 1/3 cup honey
(can use maple syrup for a vegan option)
- 1/4 cup brewer’s yeast
(known for enhancing milk supply; available at health food stores)
- 1 tsp vanilla extract
- 1/2 cup mini chocolate chips (optional)
(for added sweetness and texture)
- 1/4 cup shredded coconut (optional)
(adds a subtle tropical flavor)
Kitchen Tools You’ll Need
- Mixing Bowl: Essential for combining all the ingredients. A medium-sized bowl works well for this recipe.
- Measuring Cups and Spoons: Important for accurately measuring ingredients like oats, nut butter, and honey to ensure the right balance of flavors.
- Wooden Spoon or Spatula: Useful for mixing the ingredients together. A spatula is great for scraping down the sides of the bowl.
- Baking Sheet or Tray: Needed for placing the rolled lactation balls. A flat surface helps them set evenly.
- Parchment Paper or Silicone Baking Mat: Lining the baking sheet helps prevent sticking and makes cleanup easier. If unavailable, wax paper is an alternative.
- Refrigerator: Necessary for chilling the lactation balls so they hold their shape before serving.
Preparation Steps
- Gather all ingredients and kitchen tools on a clean workspace to ensure you have everything you need before starting.
- In a large mixing bowl, combine rolled oats, flaxseed meal, and brewers yeast. Mix thoroughly until the dry ingredients are evenly distributed.
- Add peanut butter, honey, and vanilla extract to the dry mixture. Stir well until a sticky dough forms and all ingredients are fully incorporated.
- Fold in chocolate chips and any optional add-ins like dried fruits or nuts. Ensure they are evenly mixed throughout the dough.
- Chill the mixture in the refrigerator for about 30 minutes. It should be firm and easy to handle after chilling.
- Use a tablespoon to scoop small portions of the mixture, then roll them between your palms to form 1-inch balls. Ensure they are compact and hold their shape.
- Place the formed balls on a baking sheet lined with parchment paper. Refrigerate for another 15 minutes to set.
- Store the lactation balls in an airtight container in the refrigerator for up to one week.
Final Thoughts: Making lactation balls is a simple and rewarding process, providing a nutritious snack that supports breastfeeding. Customize them with your favorite add-ins for a personal touch and enjoy the delicious boost of energy they offer.
Serving Suggestions
- With a cup of herbal tea: Pairing lactation balls with a soothing cup of herbal tea, like chamomile or peppermint, provides a calming effect, making this combination perfect for a relaxing afternoon snack.
- Alongside fresh fruit: Serve lactation balls with a selection of fresh fruits such as berries or sliced apples. The natural sweetness and juiciness of the fruit complement the nutty, rich flavor of the lactation balls.
- As a breakfast boost: Add lactation balls to your morning meal by pairing them with a bowl of Greek yogurt or oatmeal. This combination offers an energy-boosting start to the day, with added protein and fiber.
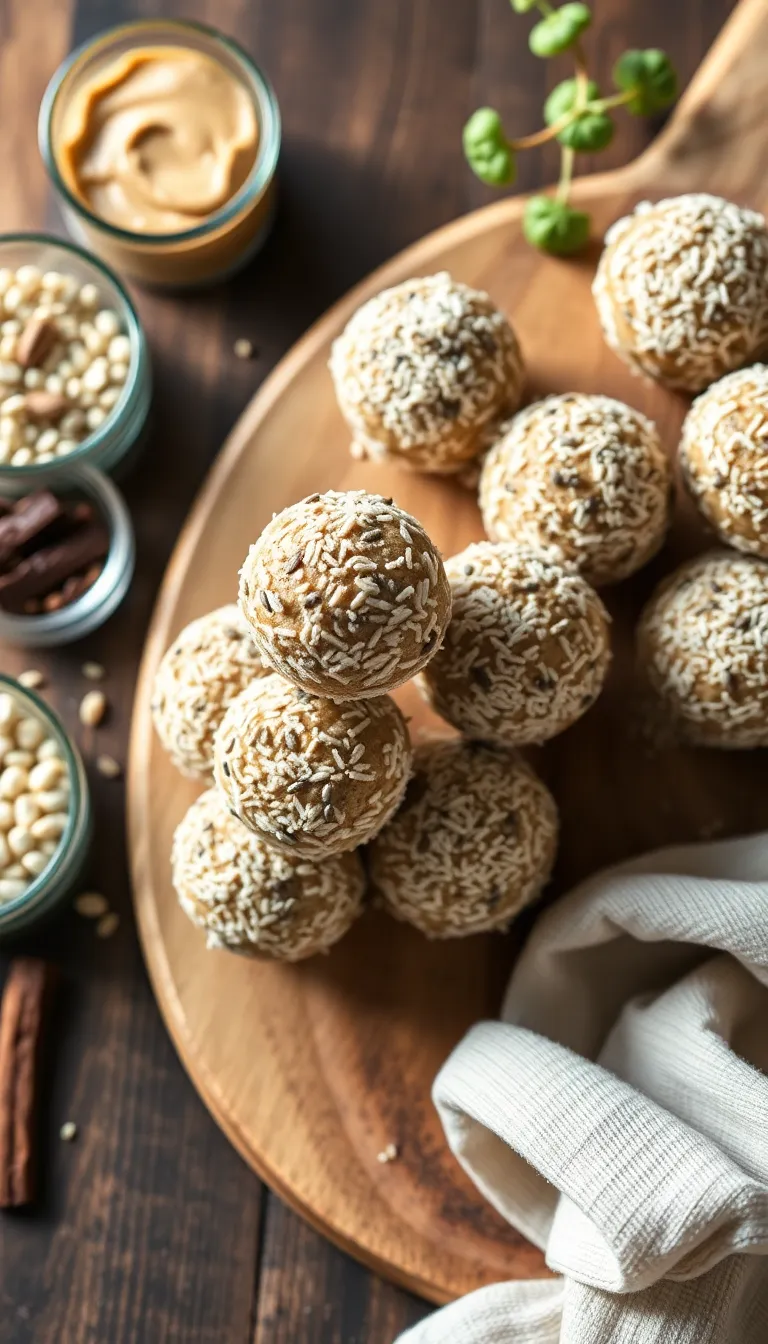
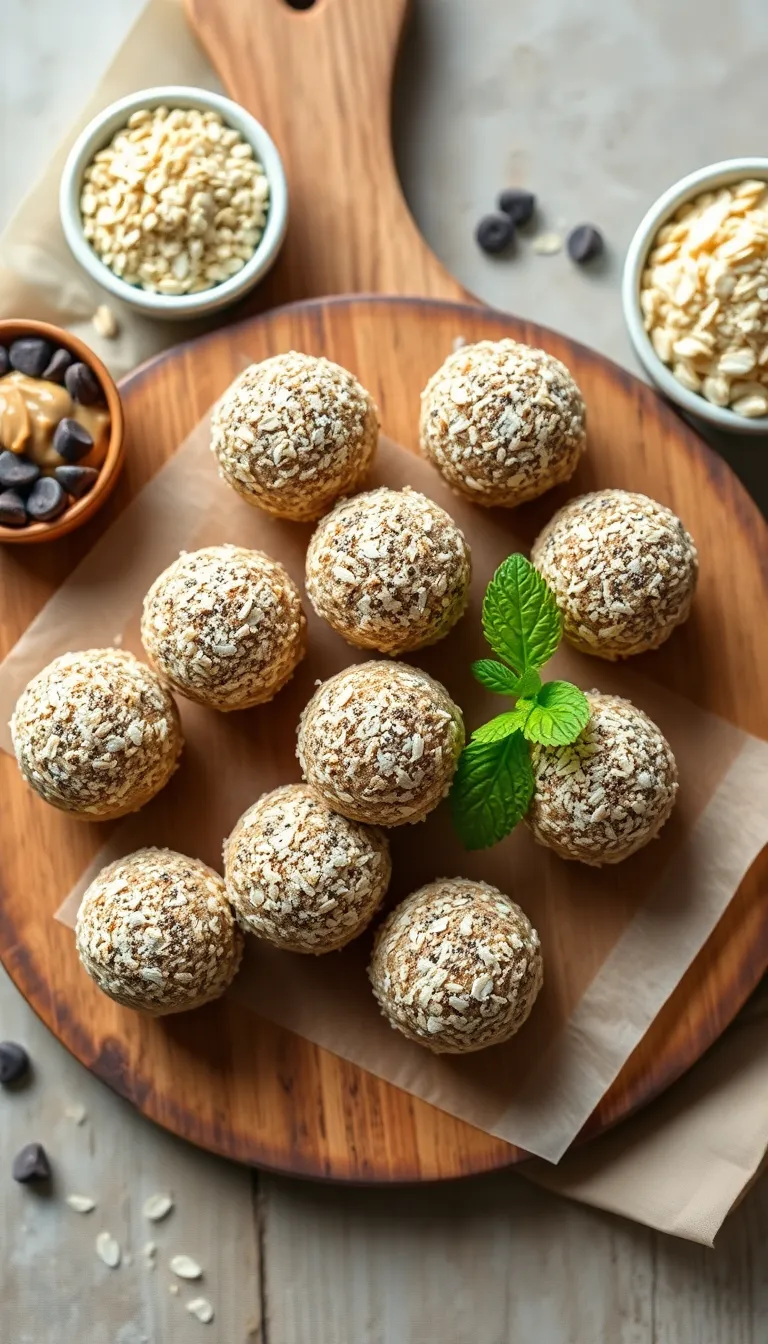
- Sprinkled with shredded coconut: Enhance the presentation and flavor by rolling the lactation balls in shredded coconut. The coconut adds a tropical twist and a pleasant texture contrast.
- With a glass of almond milk: Pairing the lactation balls with a glass of almond milk not only complements their nutty flavor but also provides additional nutrients and hydration, making it a wholesome snack option.
- As a gift package: Present lactation balls in a decorative jar or box, garnished with a sprig of mint or a slice of dried orange. This makes for a thoughtful and health-conscious gift for new mothers.
Pro Tips for Perfect Results

- Chill for Firmness: After forming the balls, refrigerate them for at least 30 minutes. This helps them firm up, making them easier to handle and enjoy.
- Boost Flavor with Toasted Nuts: Lightly toast any nuts or seeds before adding them to the mixture. This enhances their flavor and adds a delightful crunch to each bite.
- Customize Sweetness: Adjust the sweetness level by varying the amount of honey or maple syrup. Start with a smaller amount and taste the mixture before adding more to suit your preference.
- Balance Ingredients: If the mixture is too sticky, add a tablespoon of oats or ground flaxseed at a time until the desired consistency is reached. This prevents the balls from falling apart.
- Make Ahead for Convenience: Prepare a double batch and freeze half. Lactation balls can be stored in the freezer for up to three months, providing a quick and nutritious snack option at any time.
- Use a Cookie Scoop: For uniform size and shape, use a small cookie scoop to portion out the mixture. This ensures even cooking and consistent texture throughout.
Common Mistakes to Avoid
- Using Dry Ingredients Incorrectly: Not measuring dry ingredients properly can lead to dry or crumbly lactation balls. Always use a spoon to scoop ingredients like oats or flour into your measuring cup, then level it off with a knife. This ensures accuracy and prevents compacting, which can throw off the texture.
- Over-mixing the Mixture: Mixing the ingredients too vigorously can result in a tough texture. Gently fold the ingredients together just until combined. This will keep the mixture light and help the balls hold together without being dense.
- Ignoring Ingredient Temperature: If using coconut oil or nut butter, ensure they are at room temperature to blend seamlessly with the rest of the ingredients. Cold or hardened oils can lead to uneven mixing and a lumpy texture. Allow these to sit at room temperature for about 30 minutes before using.
- Skipping the Chilling Step: Not allowing the mixture to chill before rolling can cause the balls to fall apart. Chilling helps the ingredients bind together more effectively. Refrigerate the mixture for at least 30 minutes to ensure the lactation balls hold their shape.
- Using a Food Processor Incorrectly: Over-processing can turn the mixture into a paste rather than a cohesive dough. Pulse the ingredients instead of blending continuously, stopping as soon as everything is combined. This technique preserves the texture and prevents an overly smooth mixture.
By keeping these common pitfalls in mind, you’ll be better equipped to make successful lactation balls that are both nutritious and delicious. Remember, attention to detail in preparation and understanding ingredient interactions are key to perfecting this recipe.
Storage and Reheating Tips
- Store the lactation balls in an airtight container to maintain freshness. Ensure the container is clean and dry before placing the lactation balls inside.
- Refrigerate the lactation balls for up to 7 days. Keeping them chilled will help retain their texture and flavor.
- For longer storage, consider freezing the lactation balls. Place them in a freezer-safe bag or container, separating layers with parchment paper to prevent sticking. They can be frozen for up to 3 months.
- Food Safety Tip: Always label containers with the date of preparation to keep track of freshness and avoid consuming expired products.
- To thaw frozen lactation balls, transfer them from the freezer to the refrigerator and allow them to defrost overnight. This gradual thawing method helps preserve their texture.
- If you prefer to enjoy them warm, reheat thawed lactation balls by microwaving them on low power for 10-15 seconds. Avoid overheating as it may alter their texture.
- Reheating Caution: Do not refreeze lactation balls once they have been thawed, as this can affect quality and safety.
By following these storage and reheating tips, you can enjoy your lactation balls at their best quality, whether freshly made or enjoyed later as leftovers. Remember to prioritize food safety by keeping track of storage times and conditions.
Frequently Asked Questions

Q: Can I substitute any ingredients if I don’t have some on hand?
- Yes. You can use almond butter instead of peanut butter or swap flaxseeds for chia seeds. Just keep the same proportions.
Q: How long do these lactation balls last?
- They typically last up to 2 weeks when stored in an airtight container in the refrigerator.
Q: Can I freeze lactation balls for later use?
- Absolutely. Freeze them in a single layer on a baking sheet first, then transfer them to a freezer-safe bag for up to 3 months.
Q: What if my mixture is too dry or too wet?
- If too dry, add a tablespoon of milk or nut butter. If too wet, add more oats until you reach the desired consistency.
Q: Can I add any other ingredients for more flavors?
- Yes. You can mix in ingredients like dried fruits, chocolate chips, or spices such as cinnamon for added flavor.
Q: Are these safe for everyone to eat?
- Generally, yes, but be cautious of potential allergens like nuts. They are primarily designed to support lactation.
Final Thoughts
Lactation balls are a delightful and nutritious way to support new mothers on their breastfeeding journey. This recipe is packed with wholesome ingredients like oats and flaxseed, which are known to help boost milk production. Easy to prepare and delicious to eat, these energy bites are perfect for busy moms who need a quick and healthy snack.
Feel free to customize the recipe by adding your favorite nuts, dried fruits, or a dash of cinnamon to make it your own. Let your creativity shine as you adapt this recipe to suit your taste preferences. Whether you’re making a batch for yourself or a friend, these lactation balls are sure to be a hit.
We invite you to try this recipe and experience the benefits for yourself. Not only will you be nourishing your body, but you’ll also enjoy a tasty treat that can be shared with loved ones. Happy cooking!

Hi, I’m Anjali Arora — the curious heart behind Feast Chase.
To be honest, I’ve always felt most at ease in my own company. I’m not exactly a people-person (small talk still makes me cringe), but there are two things I’ve always loved deeply: animals and food.