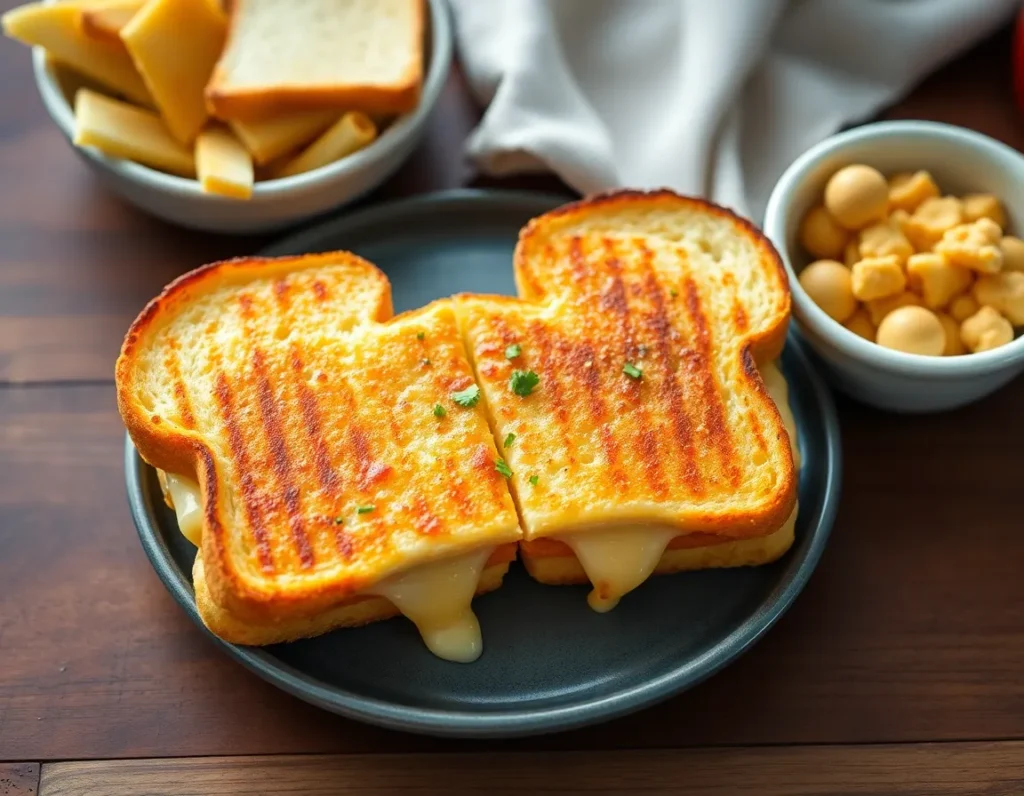
Imagine capturing the magic of Disney in your kitchen with every bite of this extraordinary grilled cheese sandwich. Whether you’re a beginner eager to try out a simple yet magical recipe or an experienced cook looking to add a touch of whimsy to your meals, this sandwich promises a delightful journey. The combination of savory cheeses, perfectly melted, with a hint of garlic and a touch of spice nestled between golden, crispy bread is sure to enchant your taste buds.
What makes this recipe truly special is its ability to transform a humble sandwich into a culinary adventure. The secret lies in its blend of cheeses, creating a creamy, gooey filling that contrasts beautifully with the crusty, buttery exterior. As you take that first bite, you’ll be transported to your happiest theme park memories, confident that this enchanting treat will bring joy to your table time and time again.
About This disney grilled cheese sandwich Recipe
- Authentic Disney Experience: Bring a touch of Disney magic to your kitchen with this iconic grilled cheese recipe, inspired by the comfort food served at Disney theme parks.
- Irresistible Flavor Combination: Enjoy the perfect blend of cheeses, including cheddar, provolone, and cream cheese, that creates a gooey, flavorful filling in every bite.
- Simple and Quick: With just a few ingredients and minimal prep time, this recipe is perfect for a quick lunch or a delightful snack, ready in under 30 minutes.
- Family-Friendly: Loved by both kids and adults, this grilled cheese is sure to be a hit at the dinner table, satisfying even the pickiest eaters.
- Customizable: Easily adapt the recipe to your personal taste by adding extras like bacon, tomatoes, or fresh herbs for a unique twist on a classic.
Why You’ll Love This Recipe
- Inspired by the Magic of Disney: This grilled cheese sandwich brings a touch of Disney magic to your kitchen with its whimsical and comforting flavors.
- Perfectly Gooey and Cheesy: Enjoy the perfect blend of cheeses that melt to creamy perfection, creating a truly indulgent experience.
- Quick and Easy to Make: This recipe is a breeze to whip up, making it an excellent choice for a quick lunch or snack that the whole family will love.
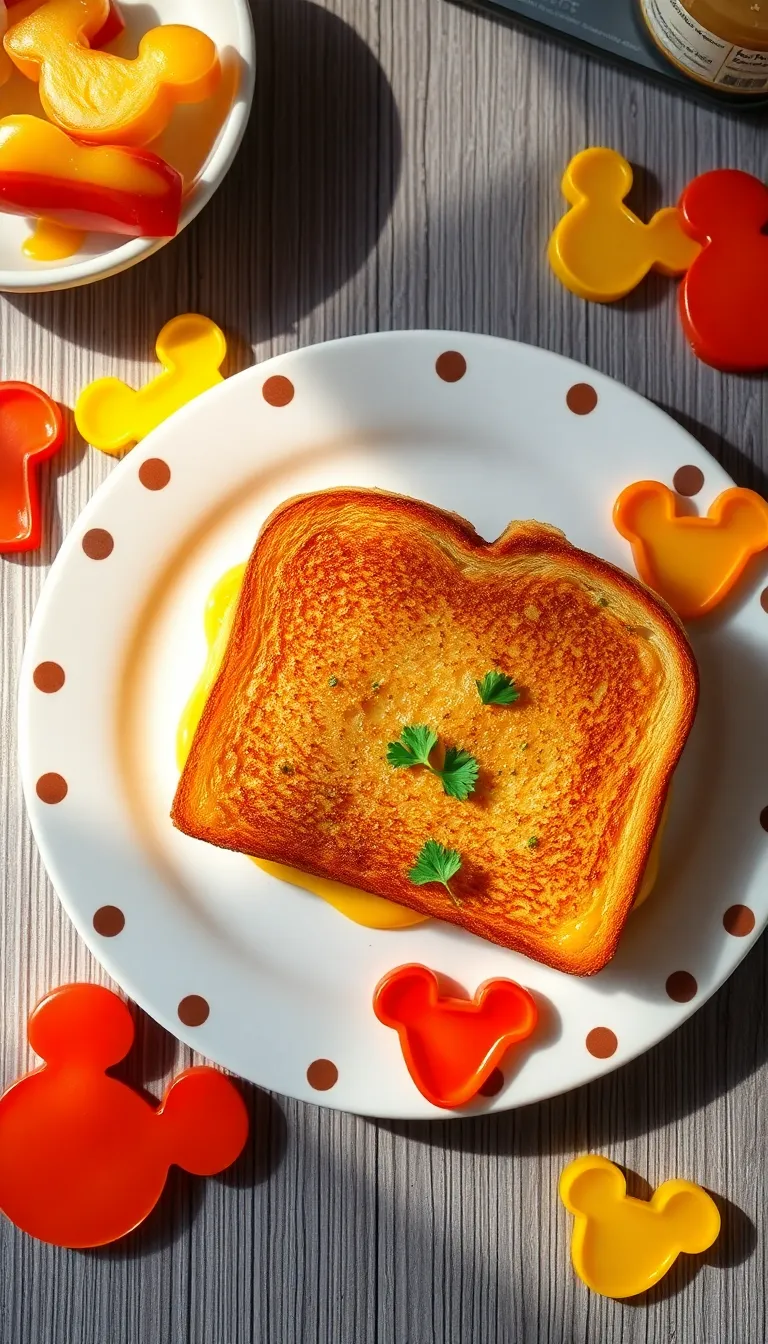
- Kid-Friendly Delight: With its familiar flavors and fun presentation, it’s sure to be a hit with kids and the young at heart alike.
- Customizable to Your Taste: Easily adapt this recipe by adding your favorite ingredients like tomatoes or bacon for an extra twist.
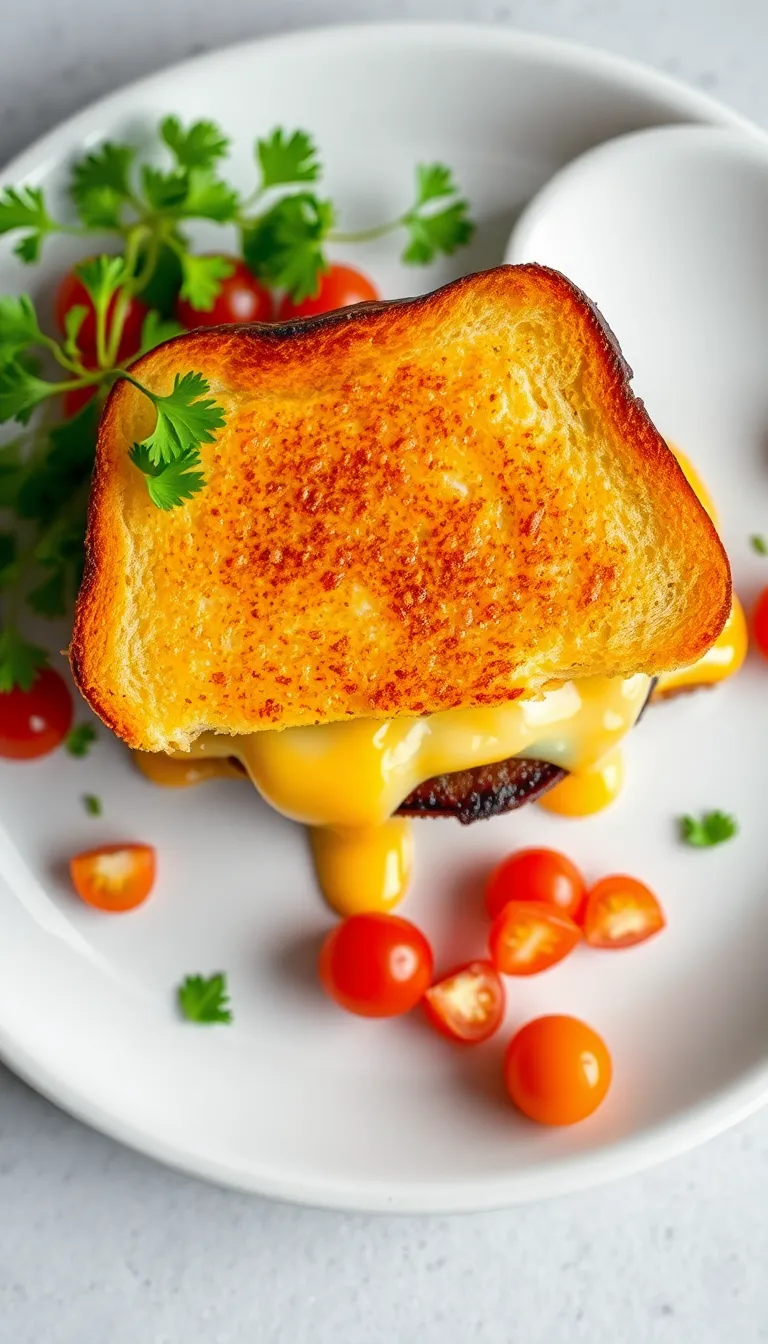
- Crispy and Golden Perfection: Achieve a perfectly crispy, golden-brown exterior that adds just the right amount of crunch to every bite.
Ingredients
- 4 slices of sourdough bread
- 2 tablespoons of mayonnaise
- 4 tablespoons of softened butter, divided
- 1 cup of shredded cheddar cheese
- 1 cup of shredded provolone cheese
- 1/2 teaspoon of garlic powder
- 1/4 teaspoon of onion powder
- 1/4 cup of cream cheese, softened
- 1 tablespoon of Dijon mustard
(can substitute with yellow mustard for a milder flavor)
- 2 tablespoons of grated Parmesan cheese
- 1 teaspoon of dried Italian herbs
(such as basil, oregano, and thyme)
- 1/4 cup of chopped fresh basil
(optional, for garnish)
- 1/4 cup of sliced tomatoes
(optional, for an added fresh taste)
Kitchen Tools You’ll Need
Kitchen Tools You’ll Need
- Non-stick Skillet: Essential for grilling the sandwiches evenly and achieving a perfect golden crust.
- Spatula: Ideal for flipping the sandwiches without tearing the bread. A silicone or metal spatula works best.
- Bread Knife: Useful for slicing the bread into even pieces, if not pre-sliced.
- Butter Knife: Perfect for spreading butter on the bread for better grilling results.
- Cheese Grater: Handy for grating cheese if you’re using a block instead of pre-shredded cheese. A box grater or a microplane both work well.
- Cutting Board: Provides a surface for assembling and cutting the sandwiches. Wooden or plastic boards are both suitable.
- Measuring Cups and Spoons: Necessary for accurately measuring ingredients like butter and any additional toppings you might include.
Preparation Steps
- Preheat a skillet or griddle over medium heat until hot, about 3-5 minutes. Avoid overheating to prevent the bread from burning.
- Spread a generous layer of softened butter on one side of each slice of bread, ensuring full coverage for even browning.
- Place two slices of bread, buttered side down, on a clean cutting board. Layer with cheese slices, using a combination of your favorite cheeses for optimal flavor.
- Top with the remaining bread slices, buttered side up, forming a sandwich. Press gently to help the sandwich hold together.
- Carefully place the sandwiches on the preheated skillet. Cook for 3-4 minutes on each side, or until the bread is golden brown and crispy. Check underneath to ensure they do not burn.
- Flip the sandwiches using a spatula and continue cooking until the second side is also golden brown and the cheese is fully melted, another 3-4 minutes.
- Remove the sandwiches from the skillet and let them rest for a minute before slicing. This will help the cheese set slightly, making it easier to cut.
Serving Suggestions
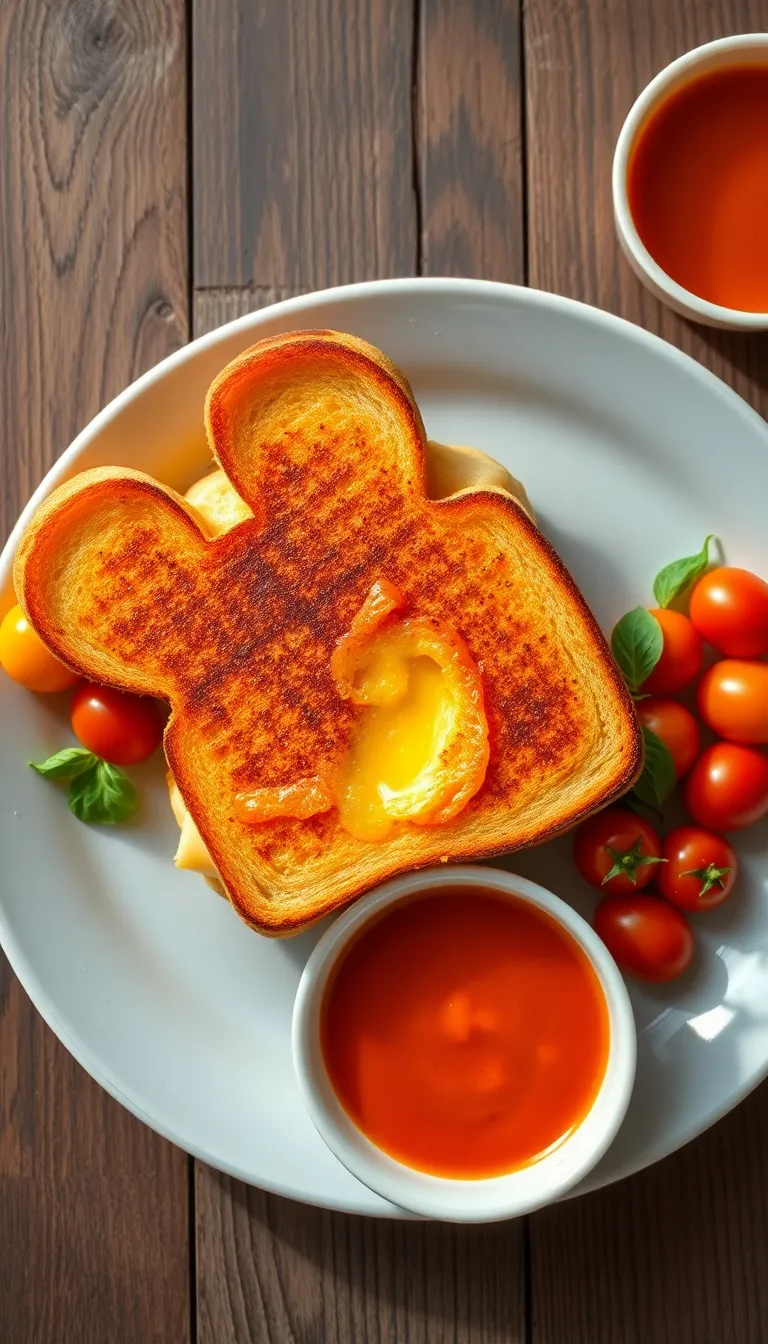
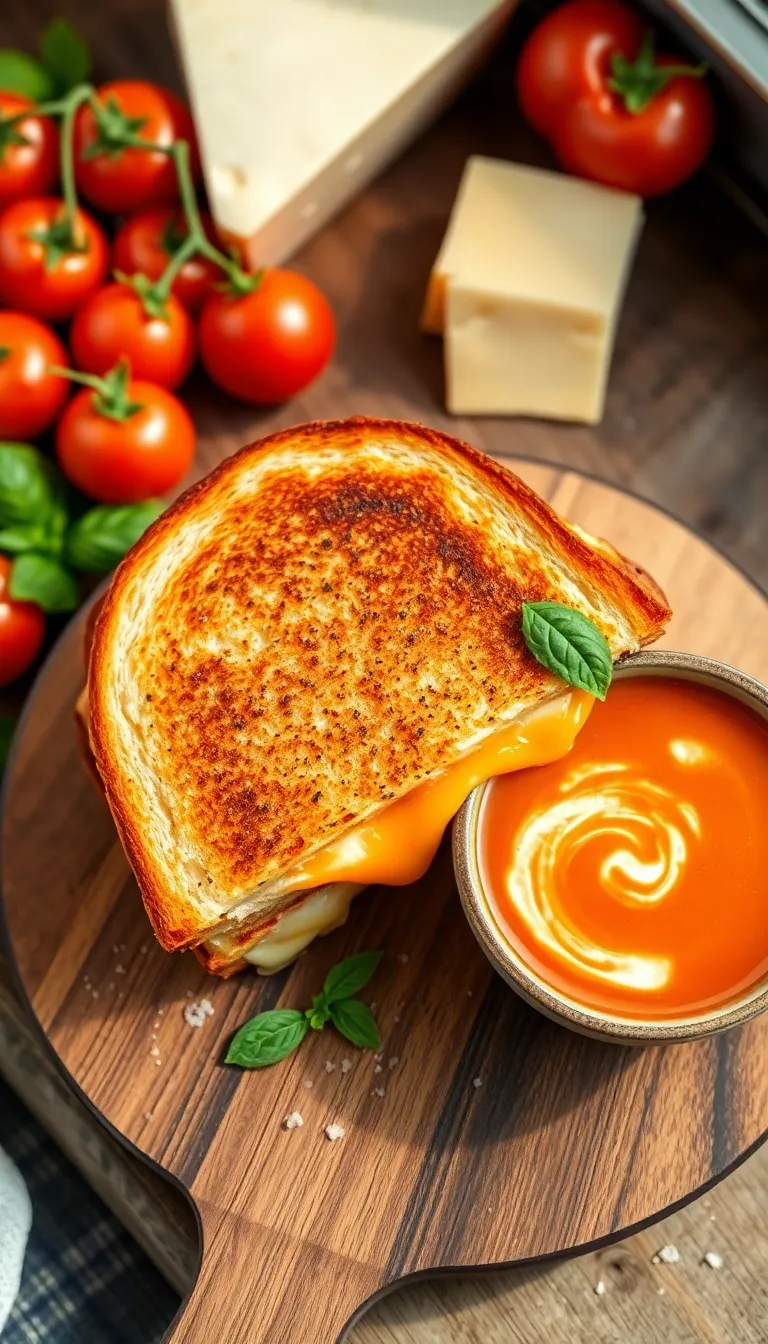
- Tomato Soup: Pair the grilled cheese with a warm, creamy tomato soup. The acidity and sweetness of the tomatoes complement the rich, cheesy sandwich, making it a classic combination.
- Fresh Salad: Serve alongside a crisp green salad with a light vinaigrette. The fresh vegetables and tangy dressing provide a refreshing contrast to the melted cheese and buttery bread.
- Pickle Spears: Add a few dill pickle spears on the side. Their briny crunch offsets the richness of the cheese and adds an interesting texture to the meal.
- Fruit Skewers: Garnish the plate with fruit skewers featuring grapes, strawberries, and melon. The natural sweetness and vibrant colors enhance both the presentation and flavor variety.
- Crispy French Fries: Pair with a side of crispy french fries for a hearty, satisfying meal. The combination of textures and the salty crunch of the fries complement the gooey sandwich.
- Iced Tea or Lemonade: Serve with a refreshing glass of iced tea or lemonade. These beverages balance the richness of the grilled cheese and cleanse the palate between bites.
Pro Tips for Perfect Results

- Use a Blend of Cheeses: For a more complex flavor, mix sharp cheddar with mozzarella or Gruyère. The cheddar provides sharpness while the other cheeses add creaminess and meltability.
- Butter the Bread, Not the Pan: Spread softened butter evenly on the outside of the bread slices instead of adding butter to the pan. This ensures a golden, crispy crust and helps prevent the sandwich from becoming greasy.
- Low and Slow Cooking: Cook the sandwich on medium-low heat. This allows the cheese to melt fully without burning the bread, resulting in a perfectly gooey center with a crisp exterior.
- Preheat the Pan: Allow your skillet or griddle to preheat for a few minutes before adding the sandwich. This ensures even cooking and an ideal crispness from the first contact with the pan.
- Make-Ahead Tip: Assemble the sandwiches in advance and store them in the refrigerator for up to 24 hours. This allows the flavors to meld, and when you’re ready to cook, simply butter the bread and grill them directly from the fridge.
- Chef’s Secret – Herb Infusion: For an aromatic twist, infuse your butter with fresh herbs like thyme or rosemary by gently heating them together before spreading. This adds a subtle yet sophisticated flavor to your grilled cheese.
Common Mistakes to Avoid
- Using Too High Heat: Many people turn up the heat to speed up the cooking process, which often results in burnt bread with unmelted cheese. To avoid this, use medium-low heat. This allows the cheese to melt slowly while the bread turns golden brown, achieving the perfect texture.
- Skipping the Butter Spread: Forgetting to butter the outside of the bread can lead to dry, unevenly toasted sandwiches. Ensure you generously spread softened butter or a butter alternative on the outside of each slice for a crispy, flavorful crust.
- Overloading with Cheese: While it might be tempting to add extra cheese, too much can cause uneven melting and a soggy texture. Stick to the recommended amount to ensure the cheese melts evenly, providing a gooey yet manageable filling.
- Not Preheating the Pan: Adding your sandwich to a cold pan results in uneven cooking and a lackluster crunch. Always preheat your skillet over medium-low heat before placing the sandwich in the pan to ensure even toasting.
- Using the Wrong Bread: Opting for bread that is too thick or dense can prevent the cheese from melting properly. Use a softer bread like brioche or sourdough that will toast nicely and complement the cheese’s meltability.
Final Thoughts: Crafting a Disney-inspired grilled cheese sandwich is all about balance and patience. By avoiding these common mistakes, you’ll ensure your sandwich is both delicious and visually appealing. Enjoy the magical experience of a perfect grilled cheese every time!
Storage and Reheating Tips
- Allow the grilled cheese sandwiches to cool down to room temperature before storing.
- Place the sandwiches in an airtight container or wrap them tightly with aluminum foil or plastic wrap to prevent moisture from making the bread soggy.
- Refrigeration: Store the sandwiches in the refrigerator for up to 3 days. Ensure they are kept at a consistent temperature to maintain freshness and safety.
- Freezing: If you plan to freeze the grilled cheese, wrap each sandwich individually with plastic wrap, followed by a layer of aluminum foil. Place the wrapped sandwiches in a freezer-safe bag, removing as much air as possible. They can be frozen for up to 2 months.
- Reheating: For the best results, reheat the grilled cheese sandwiches in an oven or toaster oven preheated to 350°F (175°C) for about 10 minutes, or until the cheese is melted and the bread is crispy. This method helps retain the sandwich’s original texture and flavor.
- If using a microwave to reheat, place the sandwich on a microwave-safe plate and cover it with a damp paper towel. Heat on medium power for about 30-45 seconds, then check if it’s warm. This method can cause the bread to become soggy, so it’s less ideal.
- Food Safety: Always ensure that the internal temperature of the reheated sandwich reaches at least 165°F (74°C) to ensure it is safe to eat.
Frequently Asked Questions
Q: Can I use a different type of cheese for the Disney Grilled Cheese Sandwich?
- Yes, you can substitute with any cheese that melts well, such as mozzarella, gouda, or provolone, for a different flavor.
Q: What type of bread works best for this recipe?
- Sourdough or white sandwich bread is recommended for its texture and flavor, but feel free to experiment with multigrain or brioche.
Q: How do I prevent the cheese from leaking out during grilling?
- Ensure the edges of the bread are pressed together firmly and use a moderate heat to allow the cheese to melt slowly and evenly.
Q: Can I add other ingredients to the grilled cheese sandwich?
- Absolutely! Consider adding sliced tomatoes, bacon, or avocado for extra flavor and texture.
Q: What’s the best way to achieve a crispy crust without burning the bread?
- Cook on medium heat and use a lid to trap heat and help the cheese melt, flipping the sandwich frequently for even toasting.
Q: Is it possible to make this sandwich vegan?
- Yes, use vegan cheese and a plant-based butter or oil to replicate the flavors while keeping it vegan-friendly.
Final Thoughts

This Disney Grilled Cheese Sandwich recipe is a delightful blend of nostalgia and comfort, perfect for bringing a touch of magic to your kitchen. With its crispy golden crust and rich, gooey cheese filling, it’s a culinary experience that echoes the joy of a day at the theme park. Every bite is a reminder of the simple pleasures that make food so enchanting.
Feel free to let your creativity shine by adding your favorite ingredients or switching up the cheese selection. This recipe is a wonderful canvas for you to experiment and create your own signature version. Whether you choose to keep it classic or add a personal twist, it’s sure to be a hit in your home.
We warmly invite you to try this recipe and enjoy a taste of Disney magic in the comfort of your own kitchen. Happy cooking!

Hi, I’m Anjali Arora — the curious heart behind Feast Chase.
To be honest, I’ve always felt most at ease in my own company. I’m not exactly a people-person (small talk still makes me cringe), but there are two things I’ve always loved deeply: animals and food.