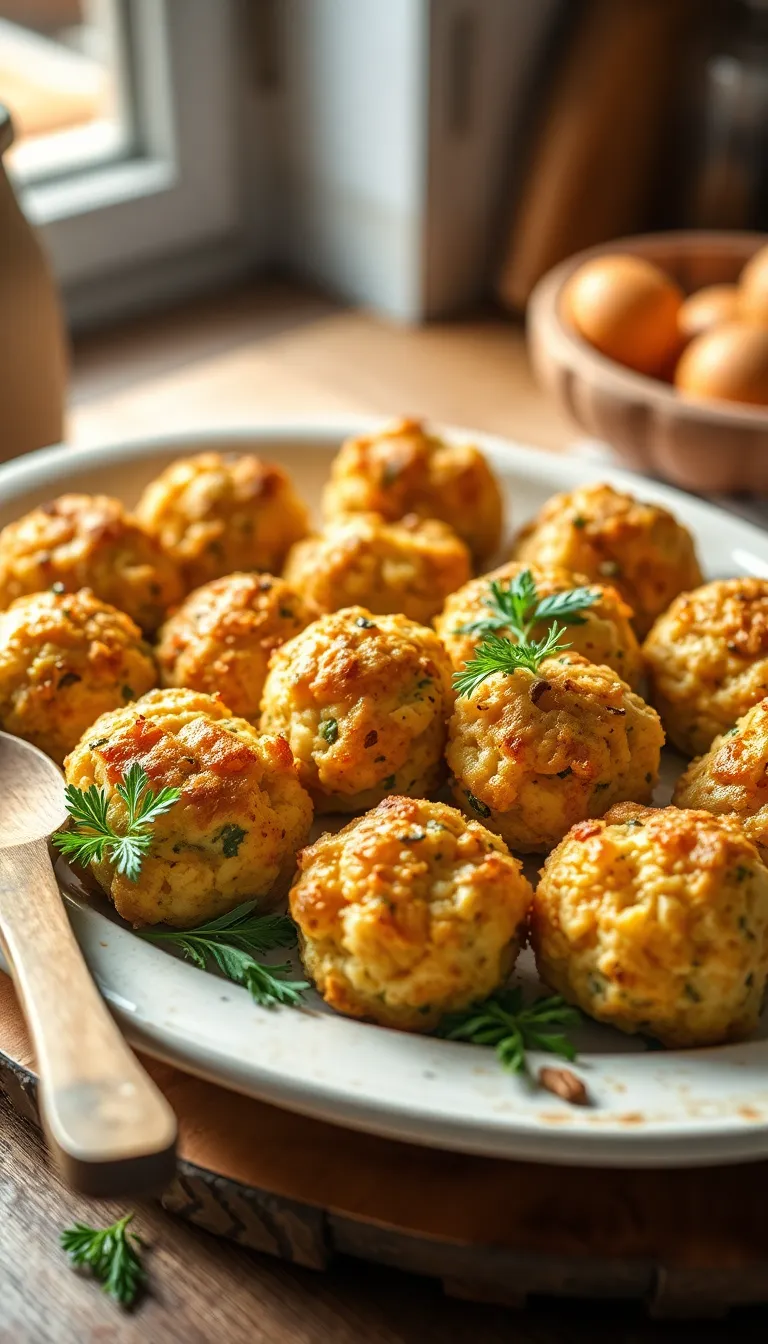
Imagine the irresistible aroma of herbs and spices wafting through your kitchen as you prepare these delectable stuffing balls. Perfectly crispy on the outside and tender on the inside, this recipe is a delightful twist on traditional stuffing that will captivate both beginners and seasoned chefs alike. With each bite, you’ll experience a harmonious blend of savory flavors from fresh sage, thyme, and rosemary, accented by the subtle sweetness of sautéed onions and garlic.
Whether you’re serving them as a side dish at a festive gathering or simply enjoying them as a comforting snack, these stuffing balls are sure to impress. The combination of rustic bread, rich butter, and a hint of chicken broth creates a moist, flavorful center that highlights the beauty of simple ingredients. Dive into this culinary adventure with confidence, knowing that you’ll create a dish that’s as enjoyable to make as it is to eat.
About This stuffing balls Recipe

- Perfectly Portion-Controlled: These stuffing balls are individually sized, making it easy to serve and enjoy without the need for extra utensils or cutting.
- Flavor-Packed Bites: Each ball is generously seasoned with traditional herbs and spices, offering a burst of savory flavors in every mouthful.
- Quick and Easy Preparation: With minimal prep time, you can have these delicious stuffing balls ready in under 30 minutes.
- Versatile and Customizable: Adapt this recipe to fit your dietary needs or preferences by adding your favorite ingredients like cranberries or nuts.
- Great for Any Occasion: Whether it’s a festive holiday meal or a simple weeknight dinner, these stuffing balls add a touch of elegance and flavor to any table.
Why You’ll Love This Recipe

- Perfectly Portable: These stuffing balls are an excellent choice for potlucks and gatherings, offering a neat and tidy way to enjoy a holiday classic.
- Quick and Easy: With a prep time of just 20 minutes, you can have these savory delights ready in no time, making them a convenient option for busy cooks.
- Rich Flavor Profile: Packed with aromatic herbs and spices, these stuffing balls provide a mouthwatering taste that pairs well with any main dish.
- Crispy on the Outside, Soft on the Inside: Achieve the perfect texture with a crisp outer layer and a deliciously soft center, satisfying every bite.
- Customizable Ingredients: Easily adapt this recipe to suit dietary preferences or use up leftover ingredients, making it versatile and practical.
- Family-Friendly: Loved by kids and adults alike, these stuffing balls are sure to be a hit at any family dinner or festive occasion.
Ingredients
- 1 loaf of day-old bread, cubed (approximately 10 cups)
- 1/2 cup of unsalted butter
- 1 large onion, finely chopped
- 2 stalks of celery, finely chopped
- 2 cloves of garlic, minced
- 1/2 cup of chicken broth (vegetable broth can be used for a vegetarian option)
- 2 large eggs, beaten
- 1 tsp of dried sage
- 1 tsp of dried thyme
- 1/2 tsp of salt
- 1/2 tsp of black pepper
- 1/4 cup of chopped fresh parsley
- 1/2 cup of dried cranberries (optional)
- 1/2 cup of chopped walnuts or pecans (optional)
- 1/4 cup of grated Parmesan cheese (optional)
These ingredients are carefully selected to ensure the stuffing balls are flavorful and perfectly textured. Feel free to adjust the spices to your taste preferences or substitute ingredients to accommodate dietary needs.
Kitchen Tools You’ll Need
- Mixing Bowl: Essential for combining all the stuffing ingredients together. A large bowl will make it easier to mix thoroughly.
- Wooden Spoon: Useful for stirring and evenly mixing the stuffing ingredients without overworking them.
- Baking Sheet: Needed to bake the stuffing balls. A non-stick baking sheet is ideal, but you can use parchment paper or a silicone mat as an alternative.
- Ice Cream Scoop or Large Spoon: Helps in forming uniformly sized stuffing balls for even cooking. If you don’t have an ice cream scoop, a large spoon will do.
- Oven Mitts: Important for safely handling the hot baking sheet when taking it out of the oven.
- Cooling Rack: Allows the stuffing balls to cool slightly and helps prevent them from getting soggy on the bottom. If you don’t have a cooling rack, a plate will work as an alternative.
Preparation Steps
- Preheat the oven to 375°F (190°C). Ensure the oven is at the right temperature by using an oven thermometer.
- Chop bread into small cubes and spread them on a baking sheet. Toast in the preheated oven for 10 minutes until lightly golden and crisp.
- Sauté chopped onions and celery in a skillet over medium heat for 5-7 minutes until the onions are translucent and the celery is tender.
- Combine the toasted bread cubes, sautéed vegetables, and your choice of herbs in a large mixing bowl. Stir until everything is evenly mixed.
- Add broth gradually to the mixture while stirring, until the bread is moistened but not soggy. Look for a consistency that holds together when squeezed.
- Shape the mixture into golf ball-sized spheres and place them on a lightly greased baking sheet. Space them evenly to ensure even cooking.
- Bake the stuffing balls in the oven for 20-25 minutes or until the exterior is crisp and the interior is heated through. Look for a golden-brown color as an indicator of doneness.
Serving Suggestions

- With Roasted Turkey: Pair stuffing balls with roasted turkey for a classic holiday meal. The savory flavors of the stuffing complement the rich, juicy turkey, creating a harmonious and traditional feast.
- As an Appetizer: Serve stuffing balls as an appetizer for a festive gathering. Their bite-sized nature makes them perfect for mingling guests, and they pair well with a light cranberry or apple chutney for a sweet contrast.
- Garnished with Fresh Herbs: Enhance the stuffing balls by garnishing with fresh herbs like parsley or thyme. This not only adds a pop of color but also brings an aromatic freshness that elevates the dish.
- Alongside Mashed Potatoes: Serve with creamy mashed potatoes for a comforting and satisfying meal. The smooth texture of the potatoes balances the crispy exterior of the stuffing balls, providing a delightful textural contrast.
- Paired with a Light White Wine: Complement the rich flavors of the stuffing balls with a crisp white wine, such as Chardonnay or Sauvignon Blanc. The acidity of the wine cuts through the richness, refreshing the palate.
- With a Side Salad: Offer a fresh, crisp side salad with vinaigrette to balance the hearty stuffing balls. The salad’s acidity and crunch provide a refreshing contrast, making it an ideal accompaniment for a lighter meal setting.
Final Thoughts:
Stuffing balls are a versatile dish that can be adapted to various meal settings, from casual gatherings to formal dinners. By considering complementary flavors and textures, you can create a well-rounded dining experience that highlights the savory goodness of the stuffing. Whether serving them as an appetizer or a main course, these suggestions will ensure your stuffing balls are the star of the meal.
Pro Tips for Perfect Results
- Chill the Mixture: After forming the stuffing balls, place them in the refrigerator for at least 30 minutes. This helps them firm up, making it easier to maintain their shape during cooking.
- Use Fresh Herbs: Enhance the flavor by using fresh herbs like sage, thyme, and parsley. Finely chop them just before adding to the mixture to retain their vibrant flavors.
- Test a Small Batch: Before baking the entire batch, cook one or two stuffing balls to test for seasoning. This allows you to adjust salt or spice levels before committing to the full batch.
- Make Ahead: Prepare the stuffing mixture a day ahead and store it in the refrigerator. This allows the flavors to meld and saves time on the day of serving.
- Add a Touch of Stock: Keep the stuffing moist by adding a splash of chicken or vegetable stock to the mixture. This adds depth to the flavor and ensures the stuffing balls do not dry out during baking.
- Chef’s Secret – Butter Baste: For a golden and flavorful crust, baste the stuffing balls with melted butter halfway through baking. This adds richness and enhances the overall taste.
Common Mistakes to Avoid
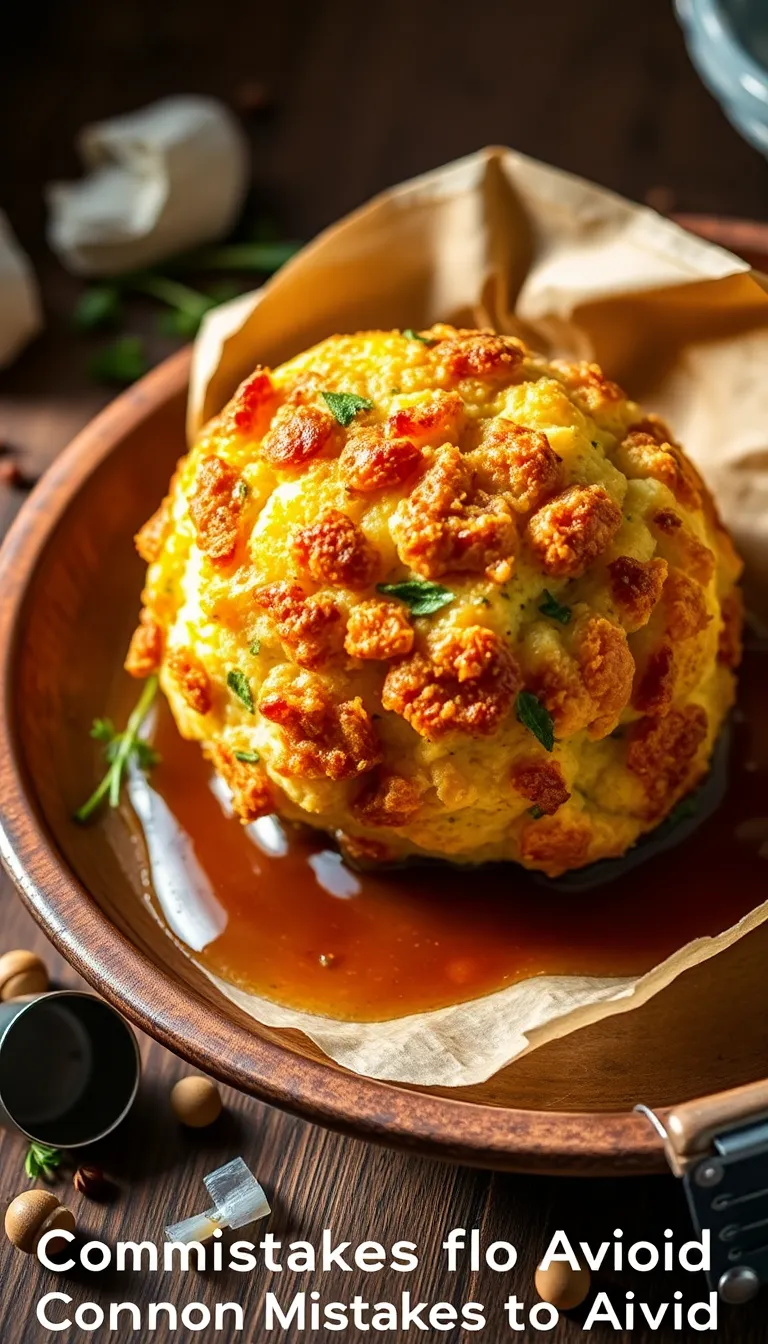
Common Mistakes to Avoid
- Using Stale or Soft Bread: Fresh or overly soft bread can make the stuffing balls too mushy. To avoid this, use slightly stale or toasted bread cubes, which will better absorb the moisture and hold their shape.
- Overmixing the Ingredients: Mixing the stuffing mixture too much can result in dense and heavy balls. Gently combine the ingredients just until incorporated to maintain a light and fluffy texture.
- Skipping the Resting Time: Allowing the mixture to rest before forming balls helps the flavors meld and the moisture distribute evenly. Make sure to let it sit for at least 10-15 minutes before shaping.
- Not Preheating the Oven: Placing stuffing balls in an oven that’s not fully preheated can lead to uneven cooking. Always preheat your oven to the specified temperature to ensure they cook evenly and thoroughly.
- Underseasoning: Stuffing balls can taste bland if not properly seasoned. Taste the mixture before baking and adjust the salt, herbs, and spices to your preference to enhance the flavor.
- Ignoring the Cooking Time: Overbaking can dry out the stuffing balls, while underbaking leaves them soggy. Set a timer and check for doneness by ensuring they’re golden brown and firm to the touch.
Storage and Reheating Tips
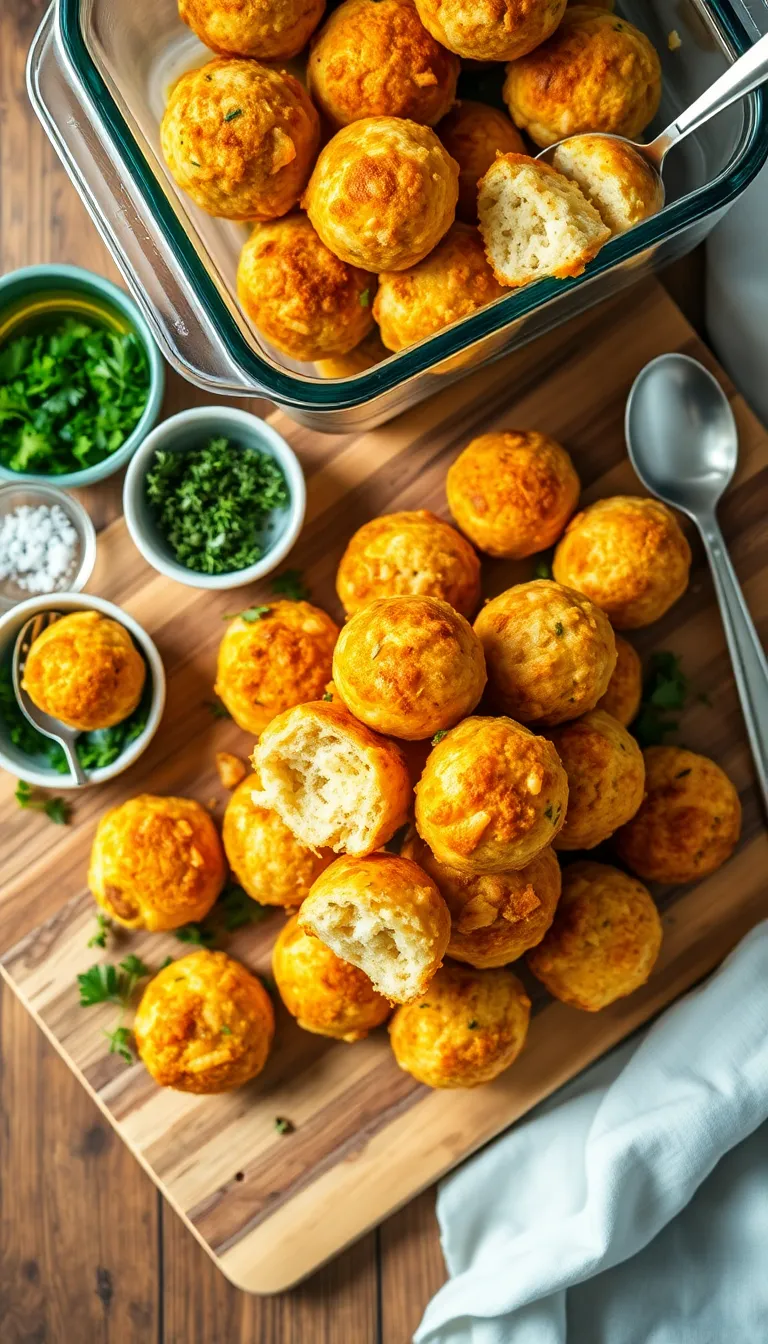
- Allow the stuffing balls to cool completely before storing to prevent condensation, which can make them soggy.
- Store the cooled stuffing balls in an airtight container to maintain freshness and prevent exposure to air.
- Refrigerate the stuffing balls for up to 3 to 4 days to ensure they remain safe to eat.
- For longer storage, freeze the stuffing balls by placing them on a baking sheet in a single layer until frozen, then transfer them to a freezer-safe container or a resealable plastic bag. They can be frozen for up to 2 months.
- When ready to reheat, thaw frozen stuffing balls in the refrigerator overnight. This gradual thawing helps maintain their texture.
- To reheat, preheat your oven to 350°F (175°C). Place the stuffing balls on a baking sheet lined with parchment paper and cover loosely with foil to prevent drying out. Heat for approximately 15 to 20 minutes or until warmed through.
- If using a microwave, place the stuffing balls on a microwave-safe plate and cover with a damp paper towel. Heat in 30-second intervals until warmed through, to avoid overcooking.
- Avoid reheating stuffing balls more than once to ensure food safety and maintain quality.
By following these storage and reheating tips, you can enjoy delicious stuffing balls as leftovers without compromising their flavor and texture. Always prioritize food safety by storing and reheating your dish properly.
Frequently Asked Questions

Q: Can I use a different type of bread for the stuffing balls?
- Yes, you can use any type of bread, such as sourdough or whole wheat, but be sure to adjust the seasoning as each bread will impart a different flavor.
Q: What can I substitute for butter to make this recipe dairy-free?
- Olive oil or vegan butter are great substitutes for butter to keep the recipe dairy-free while maintaining richness.
Q: How can I prevent the stuffing balls from falling apart during baking?
- Ensure the mixture is well-combined and moist enough to hold together; if needed, add a bit more broth or an extra egg to bind.
Q: Can I prepare the stuffing balls in advance?
- Yes, you can prepare them up to a day ahead and store them in the refrigerator; just bake them when you’re ready to serve.
Q: Is it possible to make these stuffing balls gluten-free?
- Absolutely, use gluten-free bread and ensure any other ingredients, like broth, are also gluten-free to make the recipe suitable for those with gluten sensitivities.
Q: What herbs can I use if I don’t have fresh ones on hand?
- Dried herbs like thyme, sage, or rosemary can be used in place of fresh ones; just use about one-third of the amount called for in the recipe.
Final Thoughts
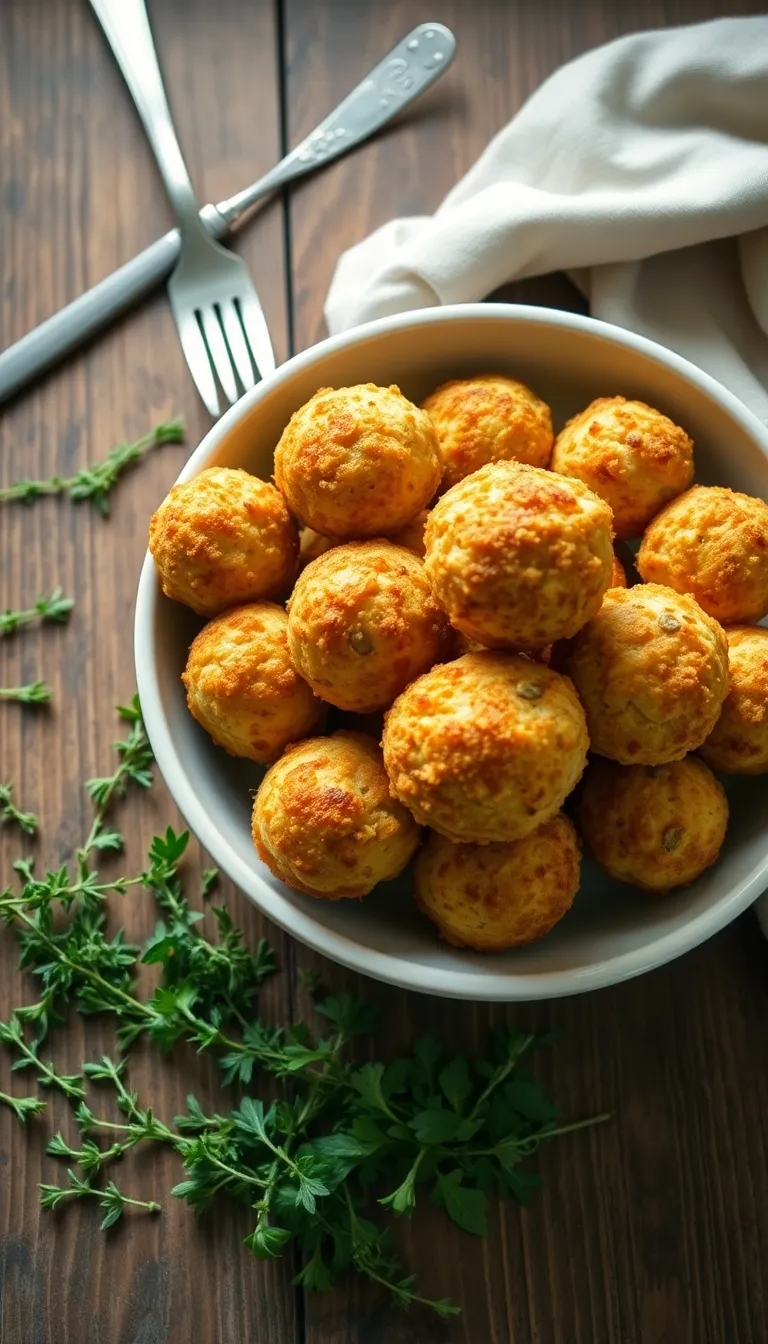
The Stuffing Balls Recipe is a delightful twist on a classic dish, making it both accessible and incredibly flavorful. With its crispy exterior and savory, herb-filled interior, it’s a perfect addition to any meal, from holiday feasts to everyday dinners. This recipe is not only easy to follow but also a wonderful way to impress your family and friends with minimal effort.
Get creative and make it your own by experimenting with different herbs or adding your favorite ingredients like cranberries or nuts for an extra burst of flavor. Whether you’re a novice cook or a seasoned chef, these stuffing balls offer a versatile canvas for culinary expression. Don’t be afraid to put your own spin on it and let your culinary instincts shine!
We warmly invite you to try this recipe and experience the joy of creating something truly satisfying. It’s a chance to bring warmth and comfort to your table, and we can’t wait for you to enjoy every delicious bite. Happy cooking!